
Jewels are used throughout a movement to support pivots, ensuring smooth motion while minimising wear.
Despite their hardness, they may crack or chip as a result of shock.
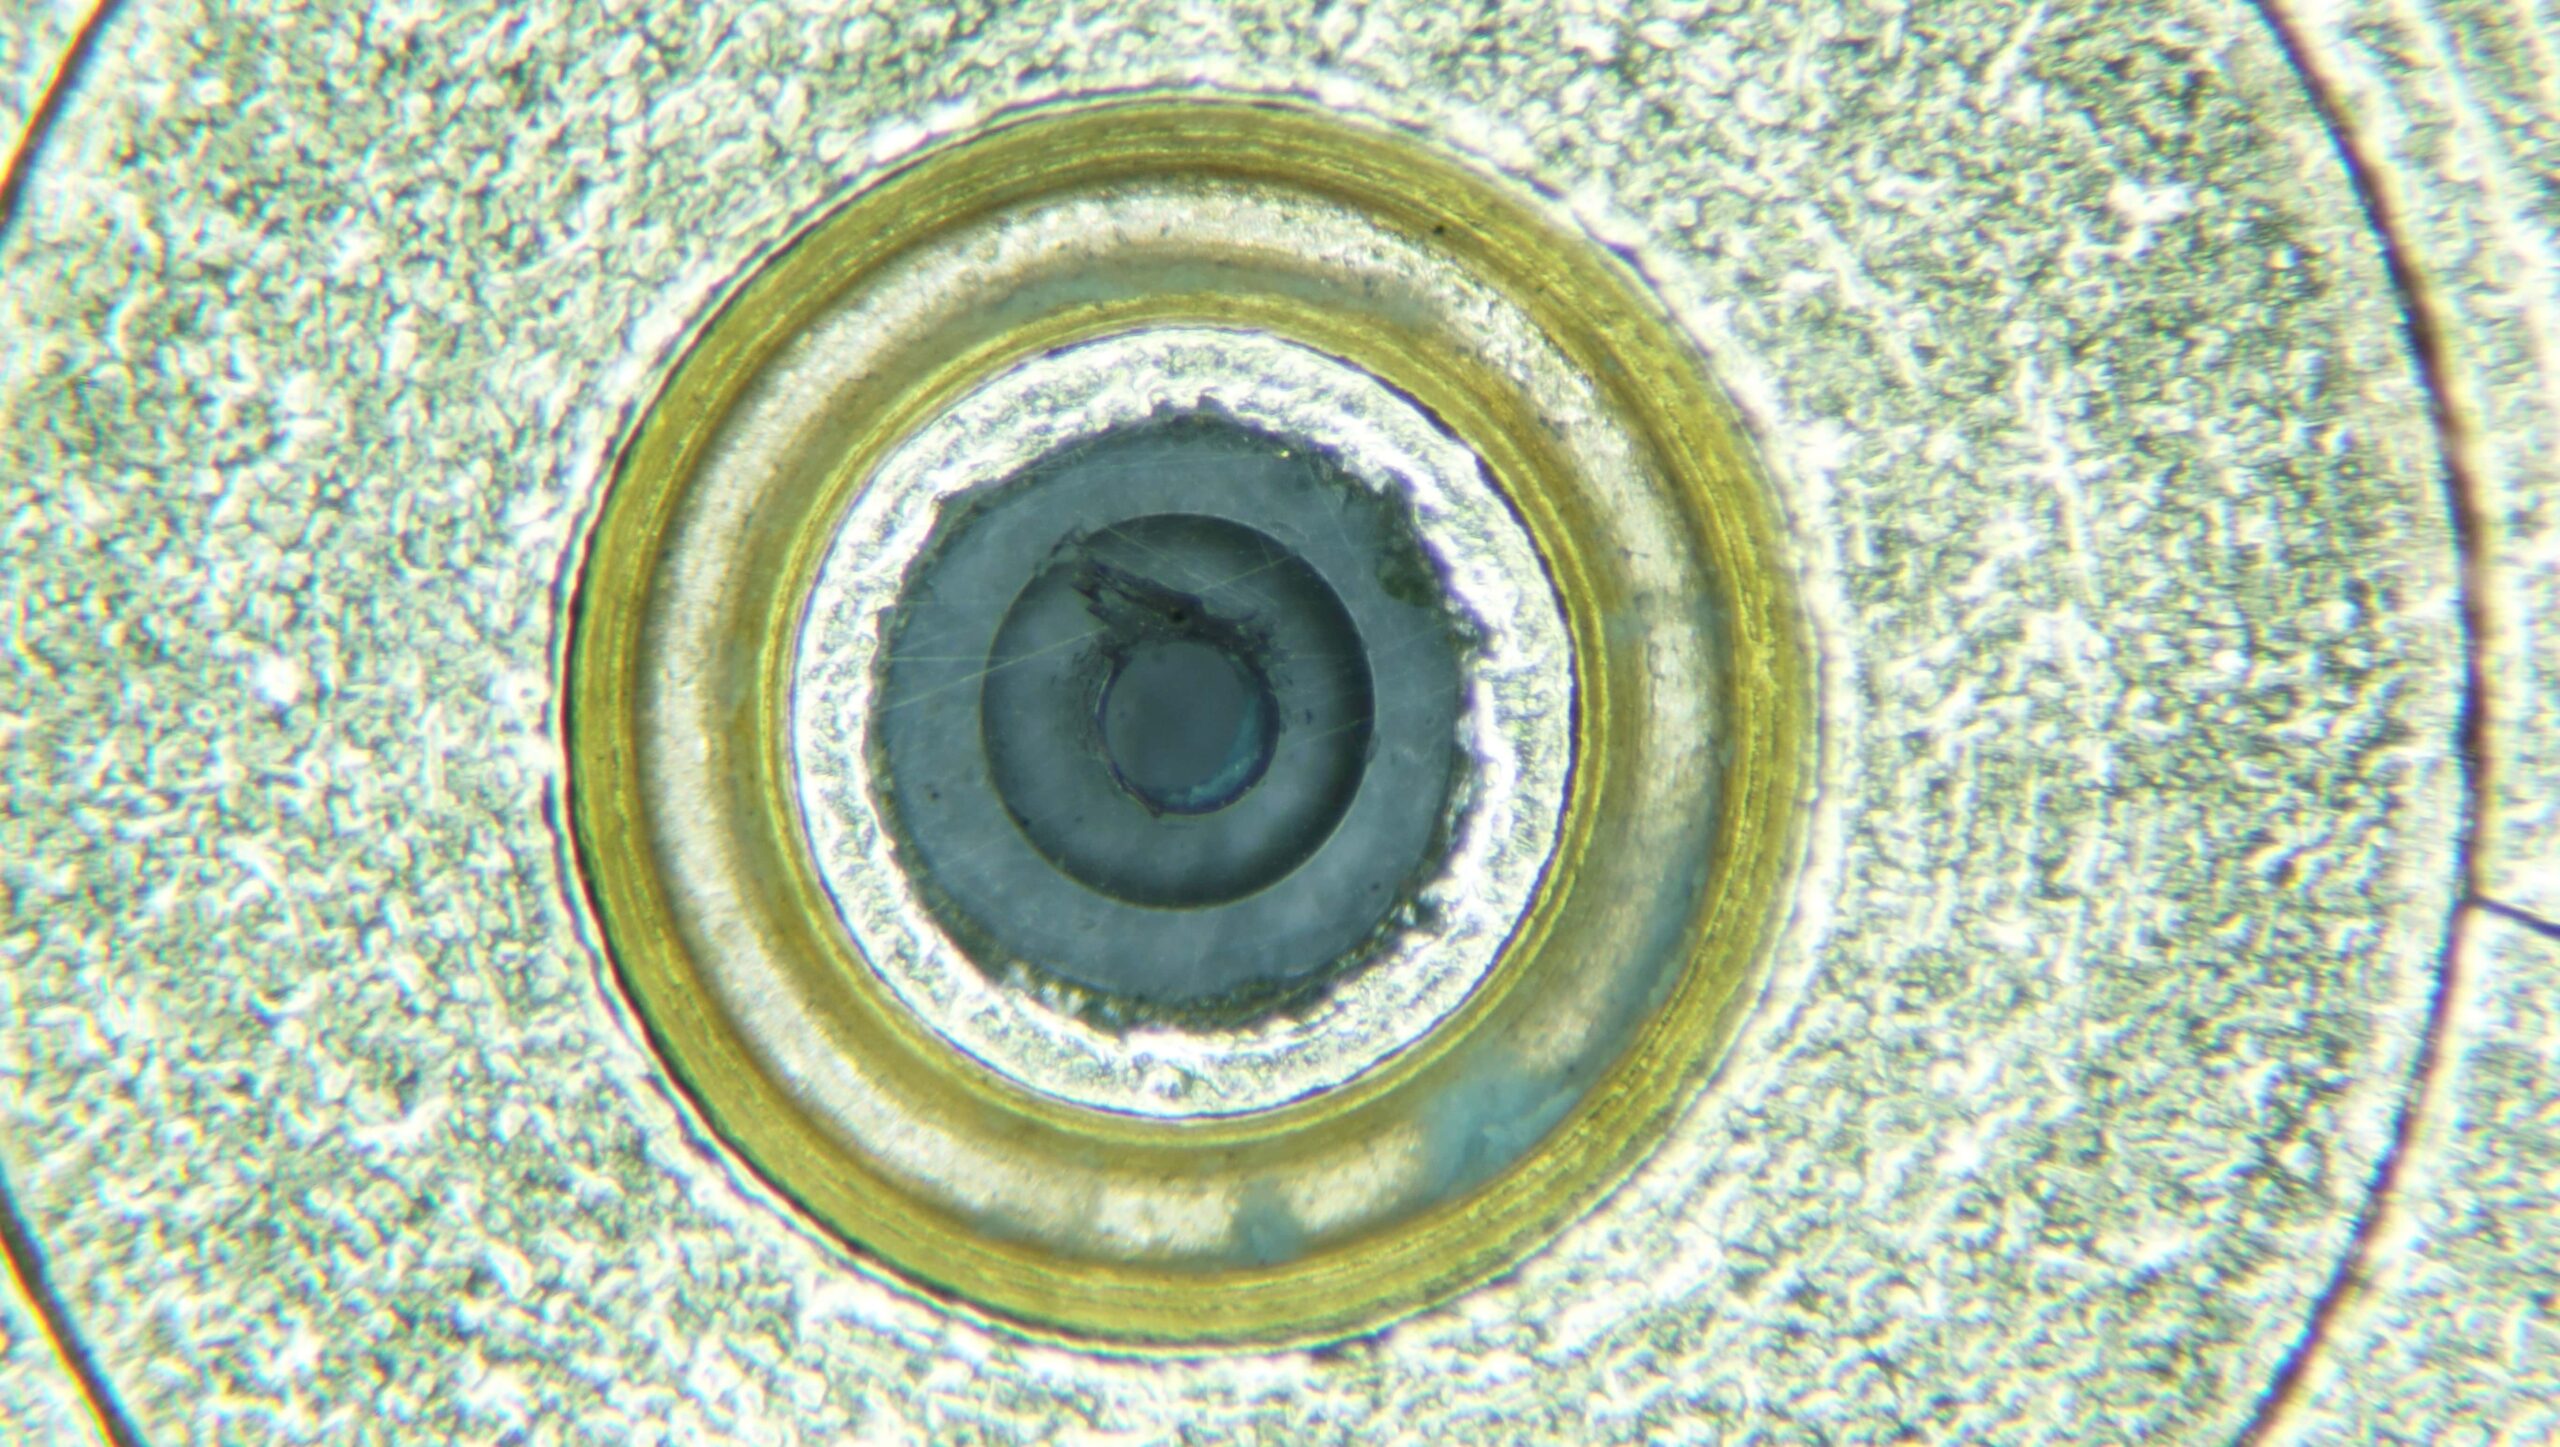
A chip is present at the bearing surface where the pivot is supported.
If left unaddressed, this defect would result in progressive wear of the pivot.
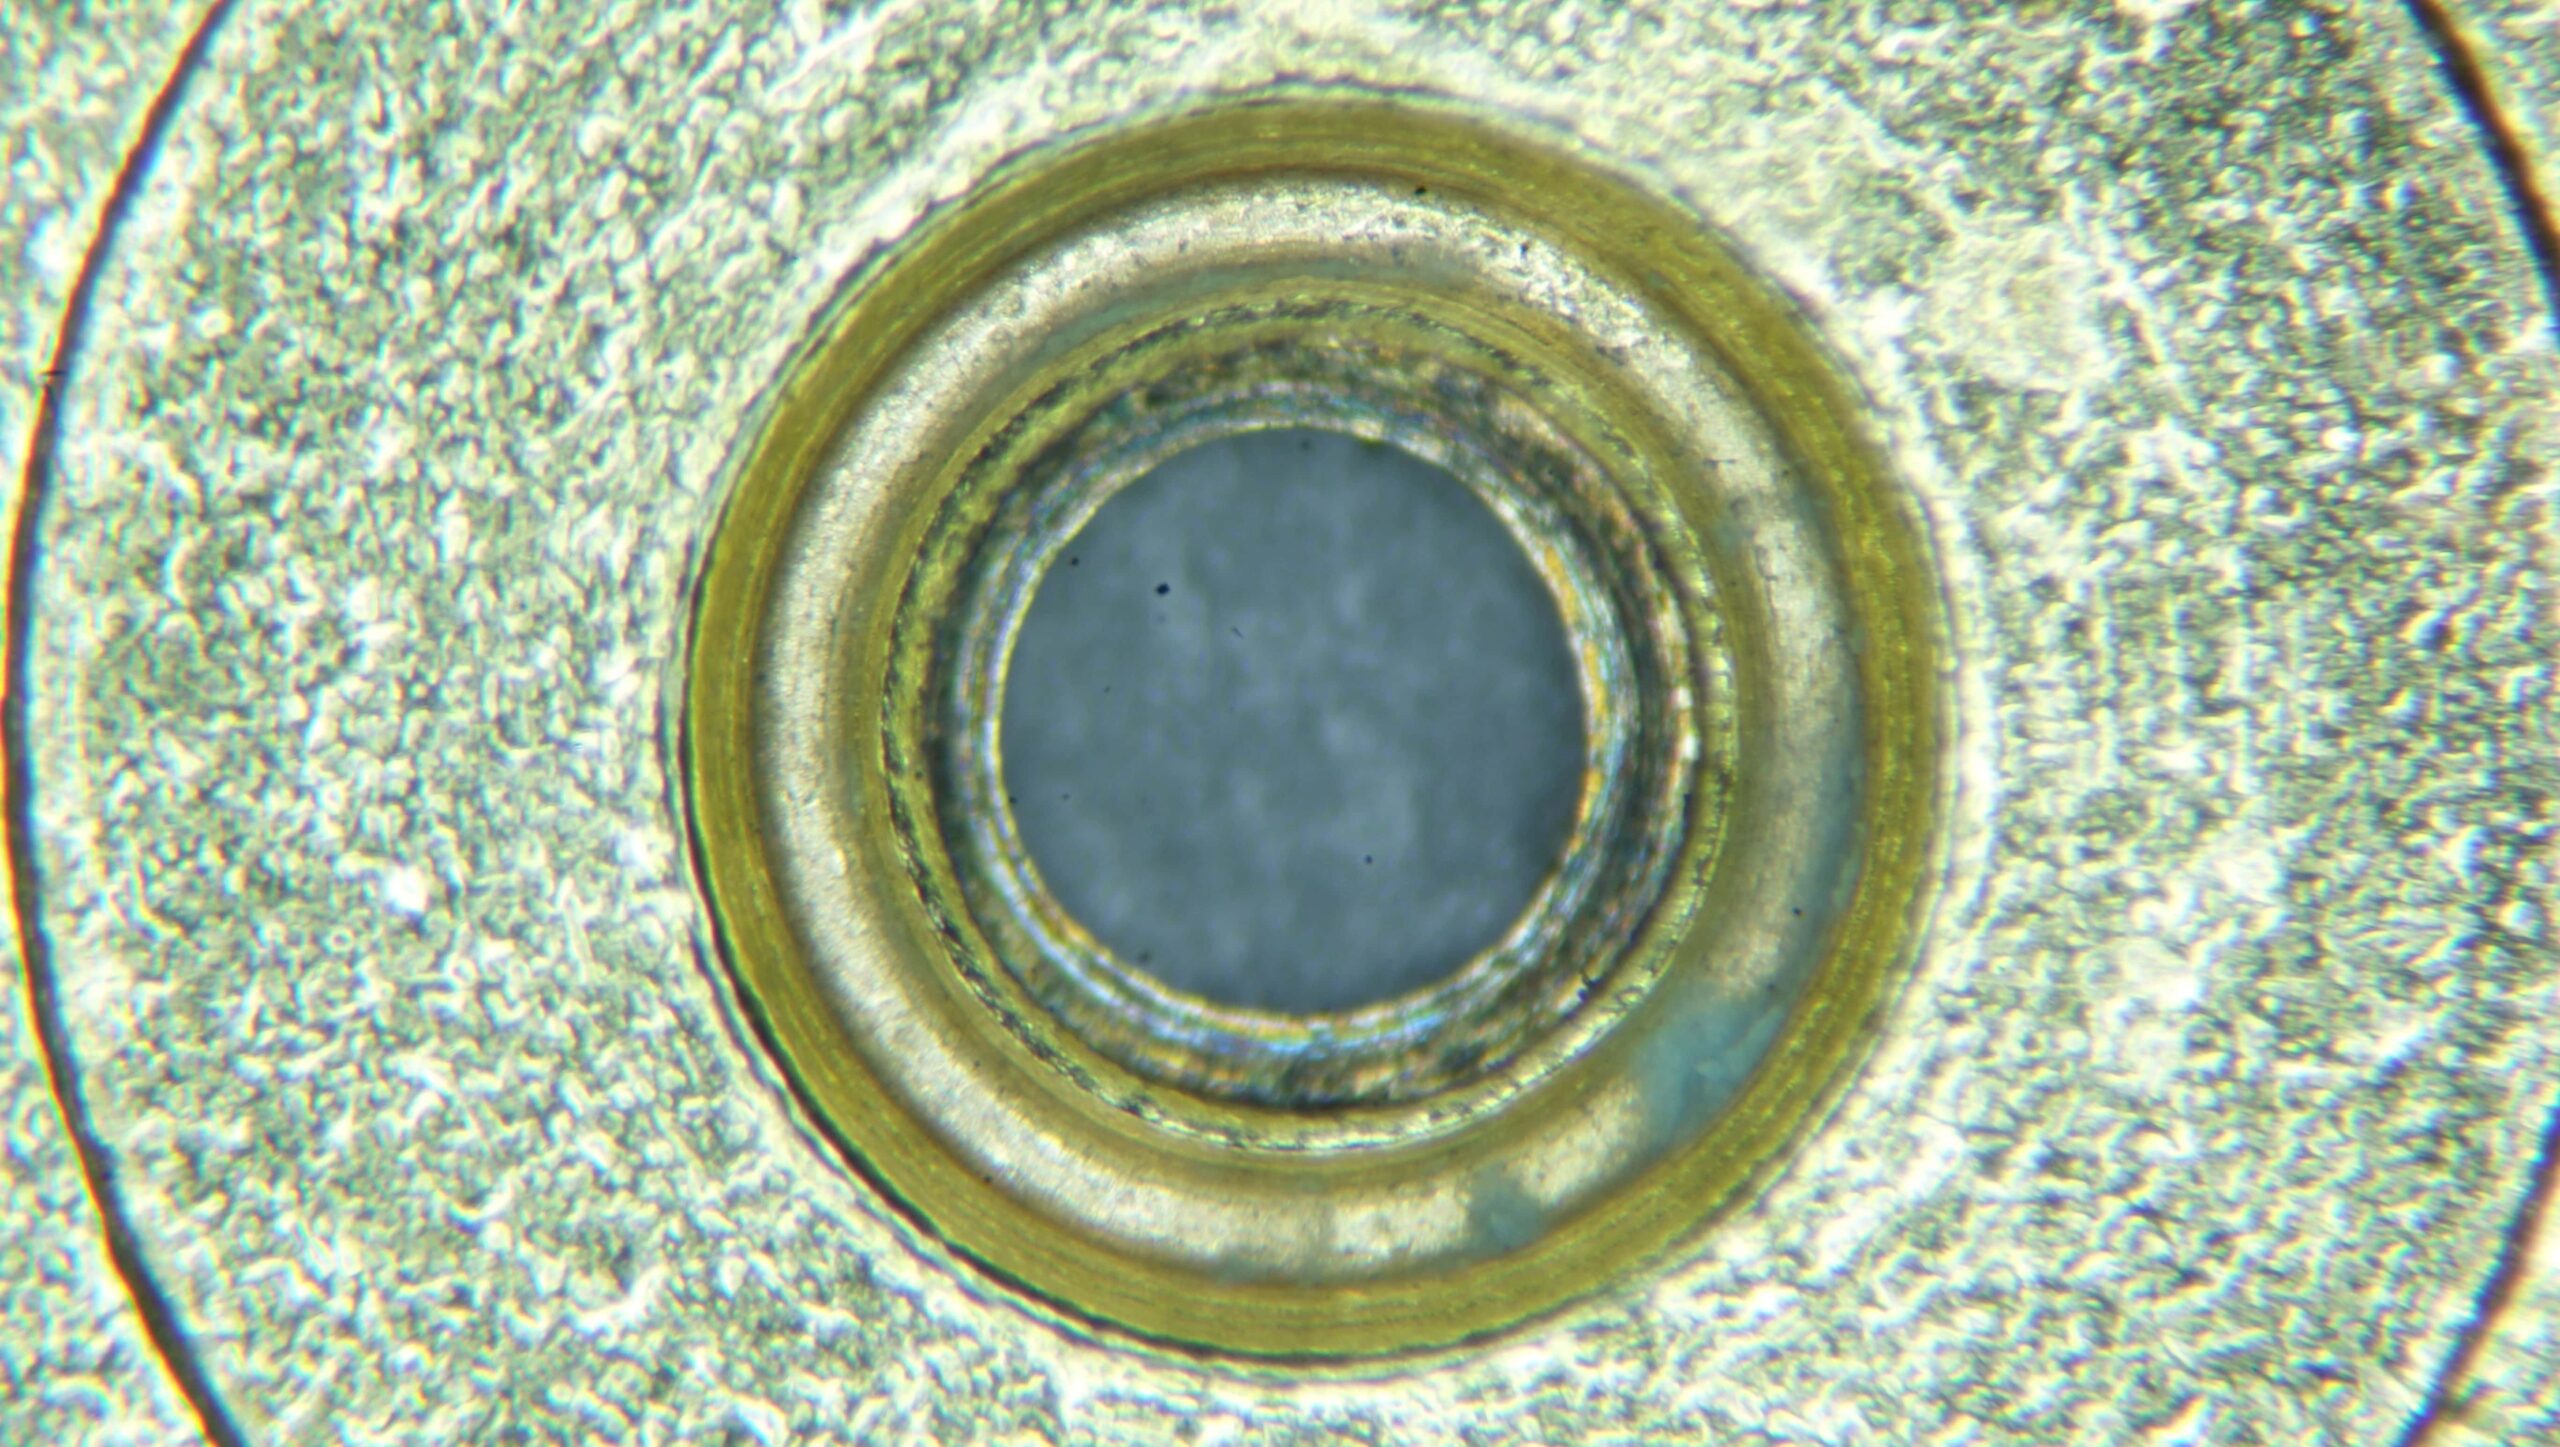
In many antique movements, jewels are secured by means of setting.
During removal, particular care must be taken to preserve the original centre of the hole in the plate.
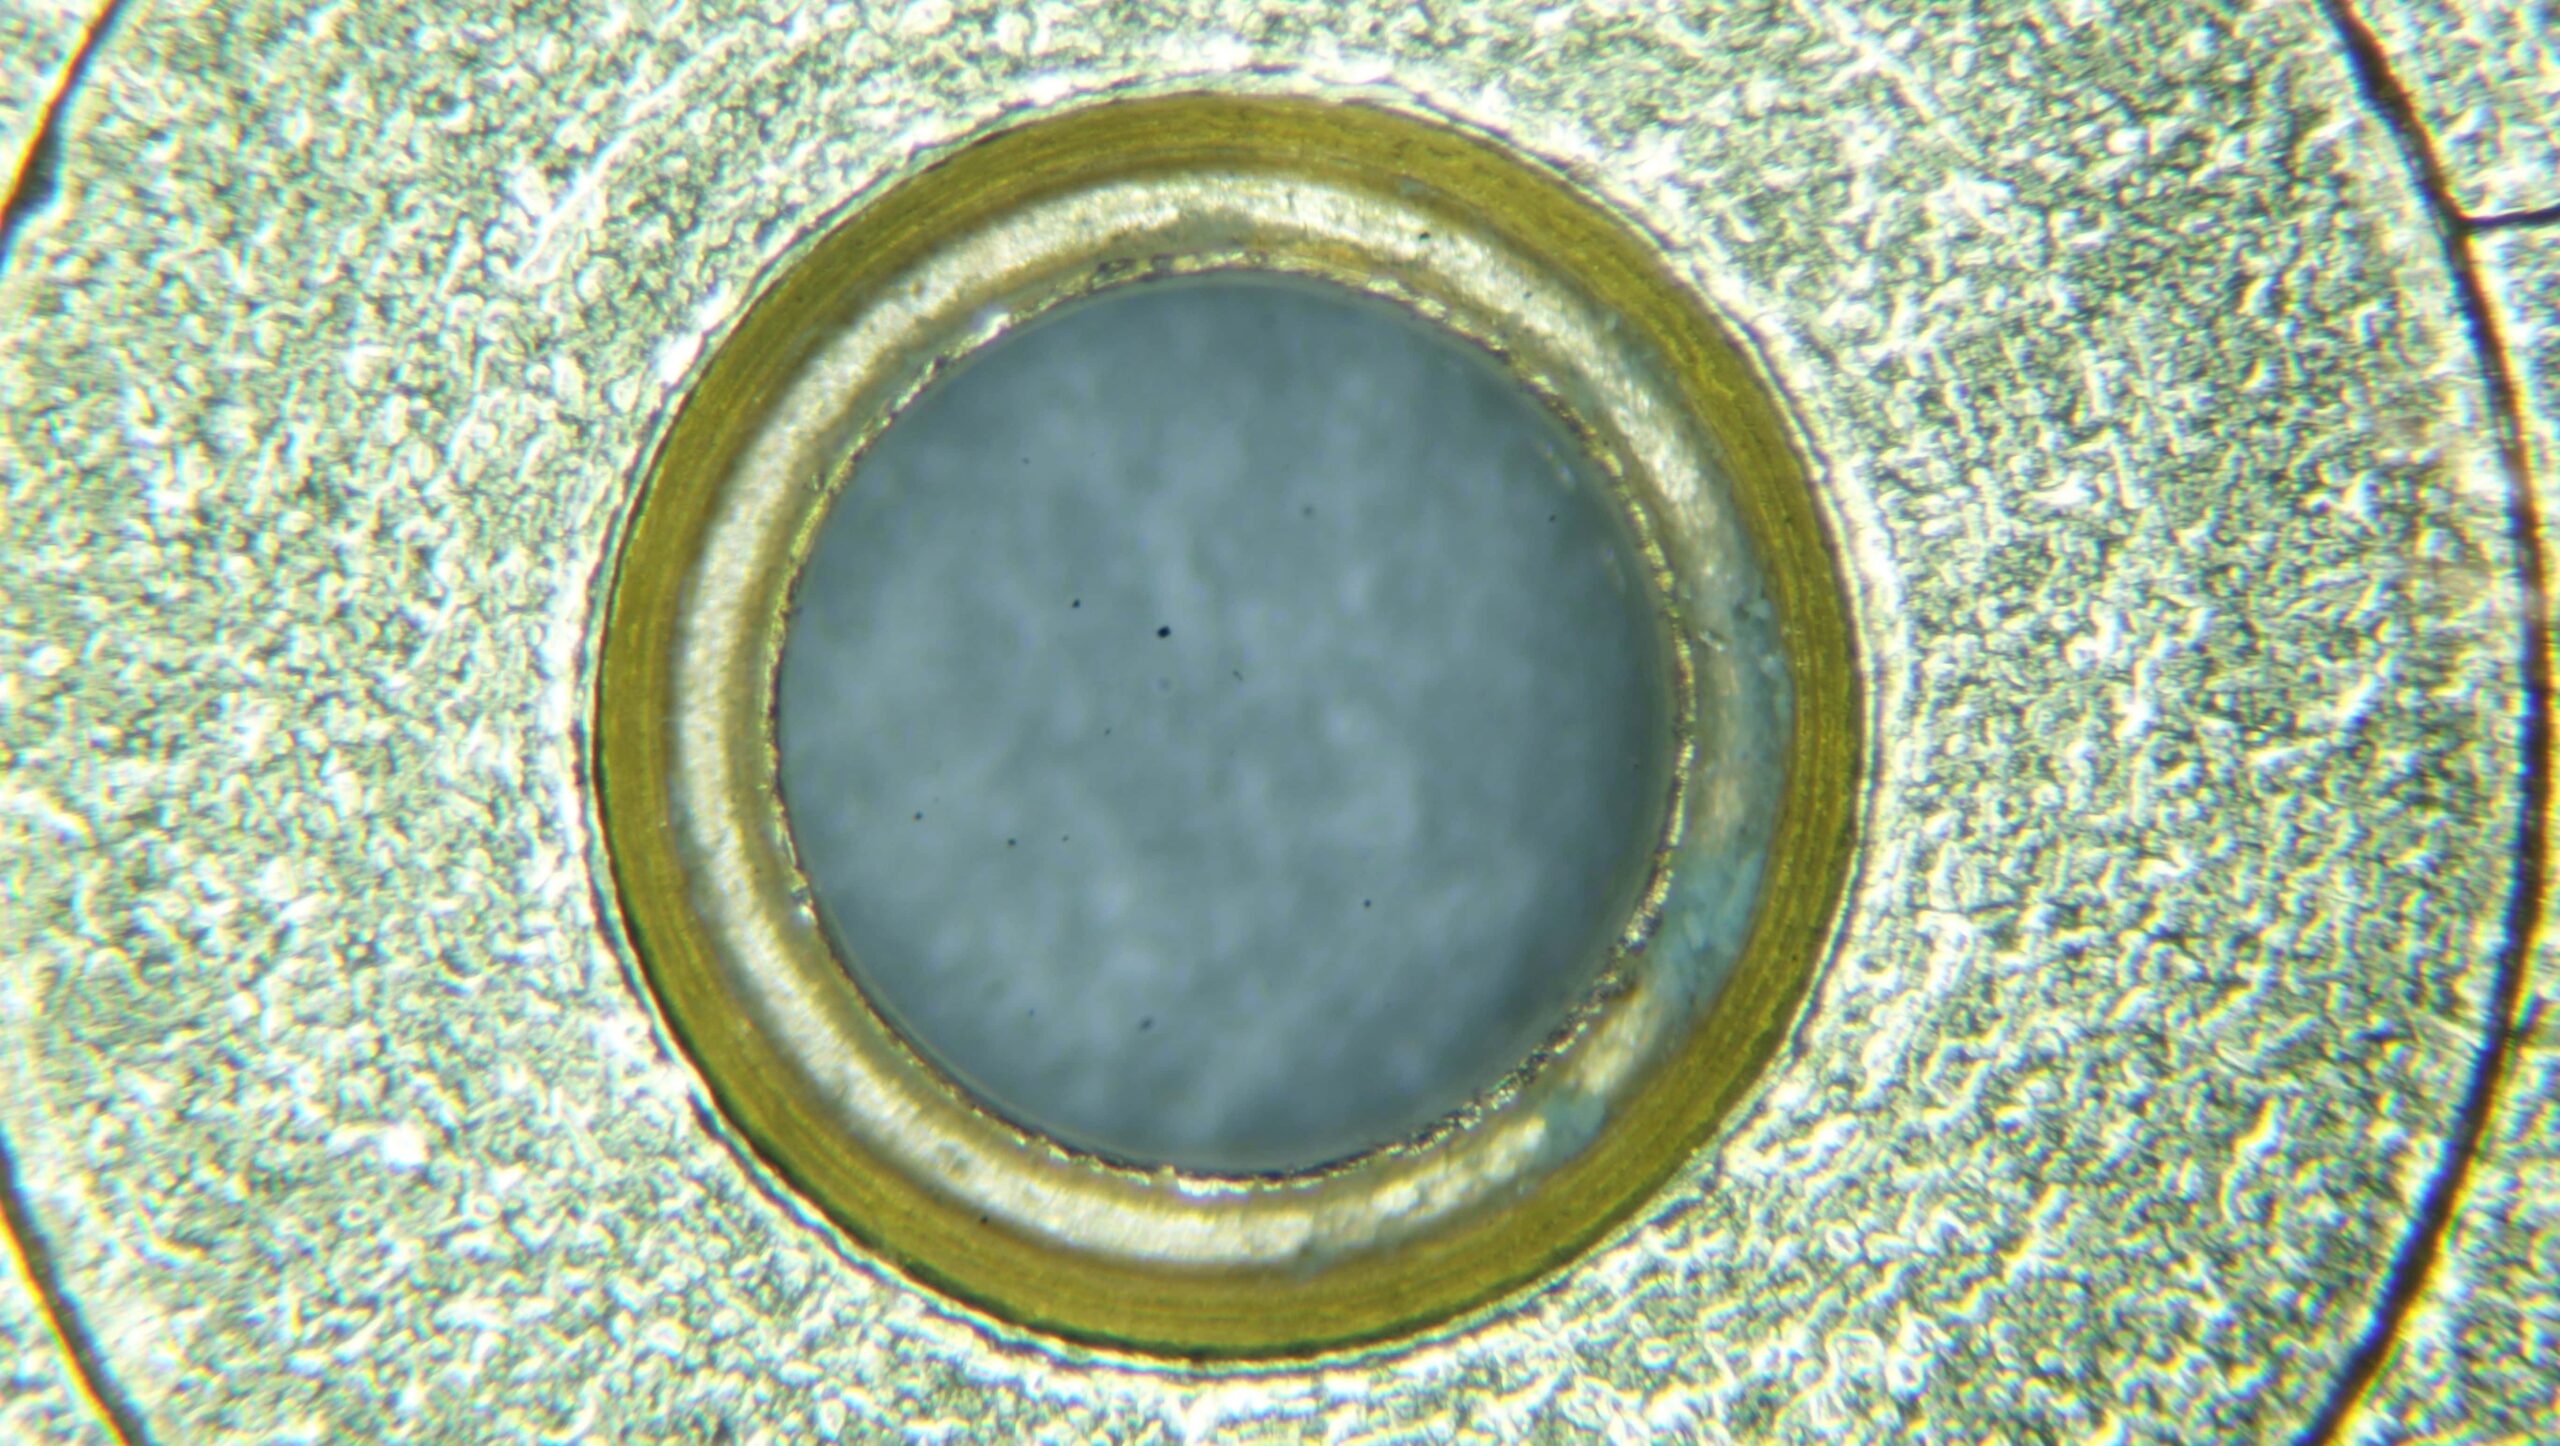
The seating is then carefully opened to accept a new jewel.
Attention is given not only to the plate, but also to maintaining correct alignment with the opposing jewel as much as possible.
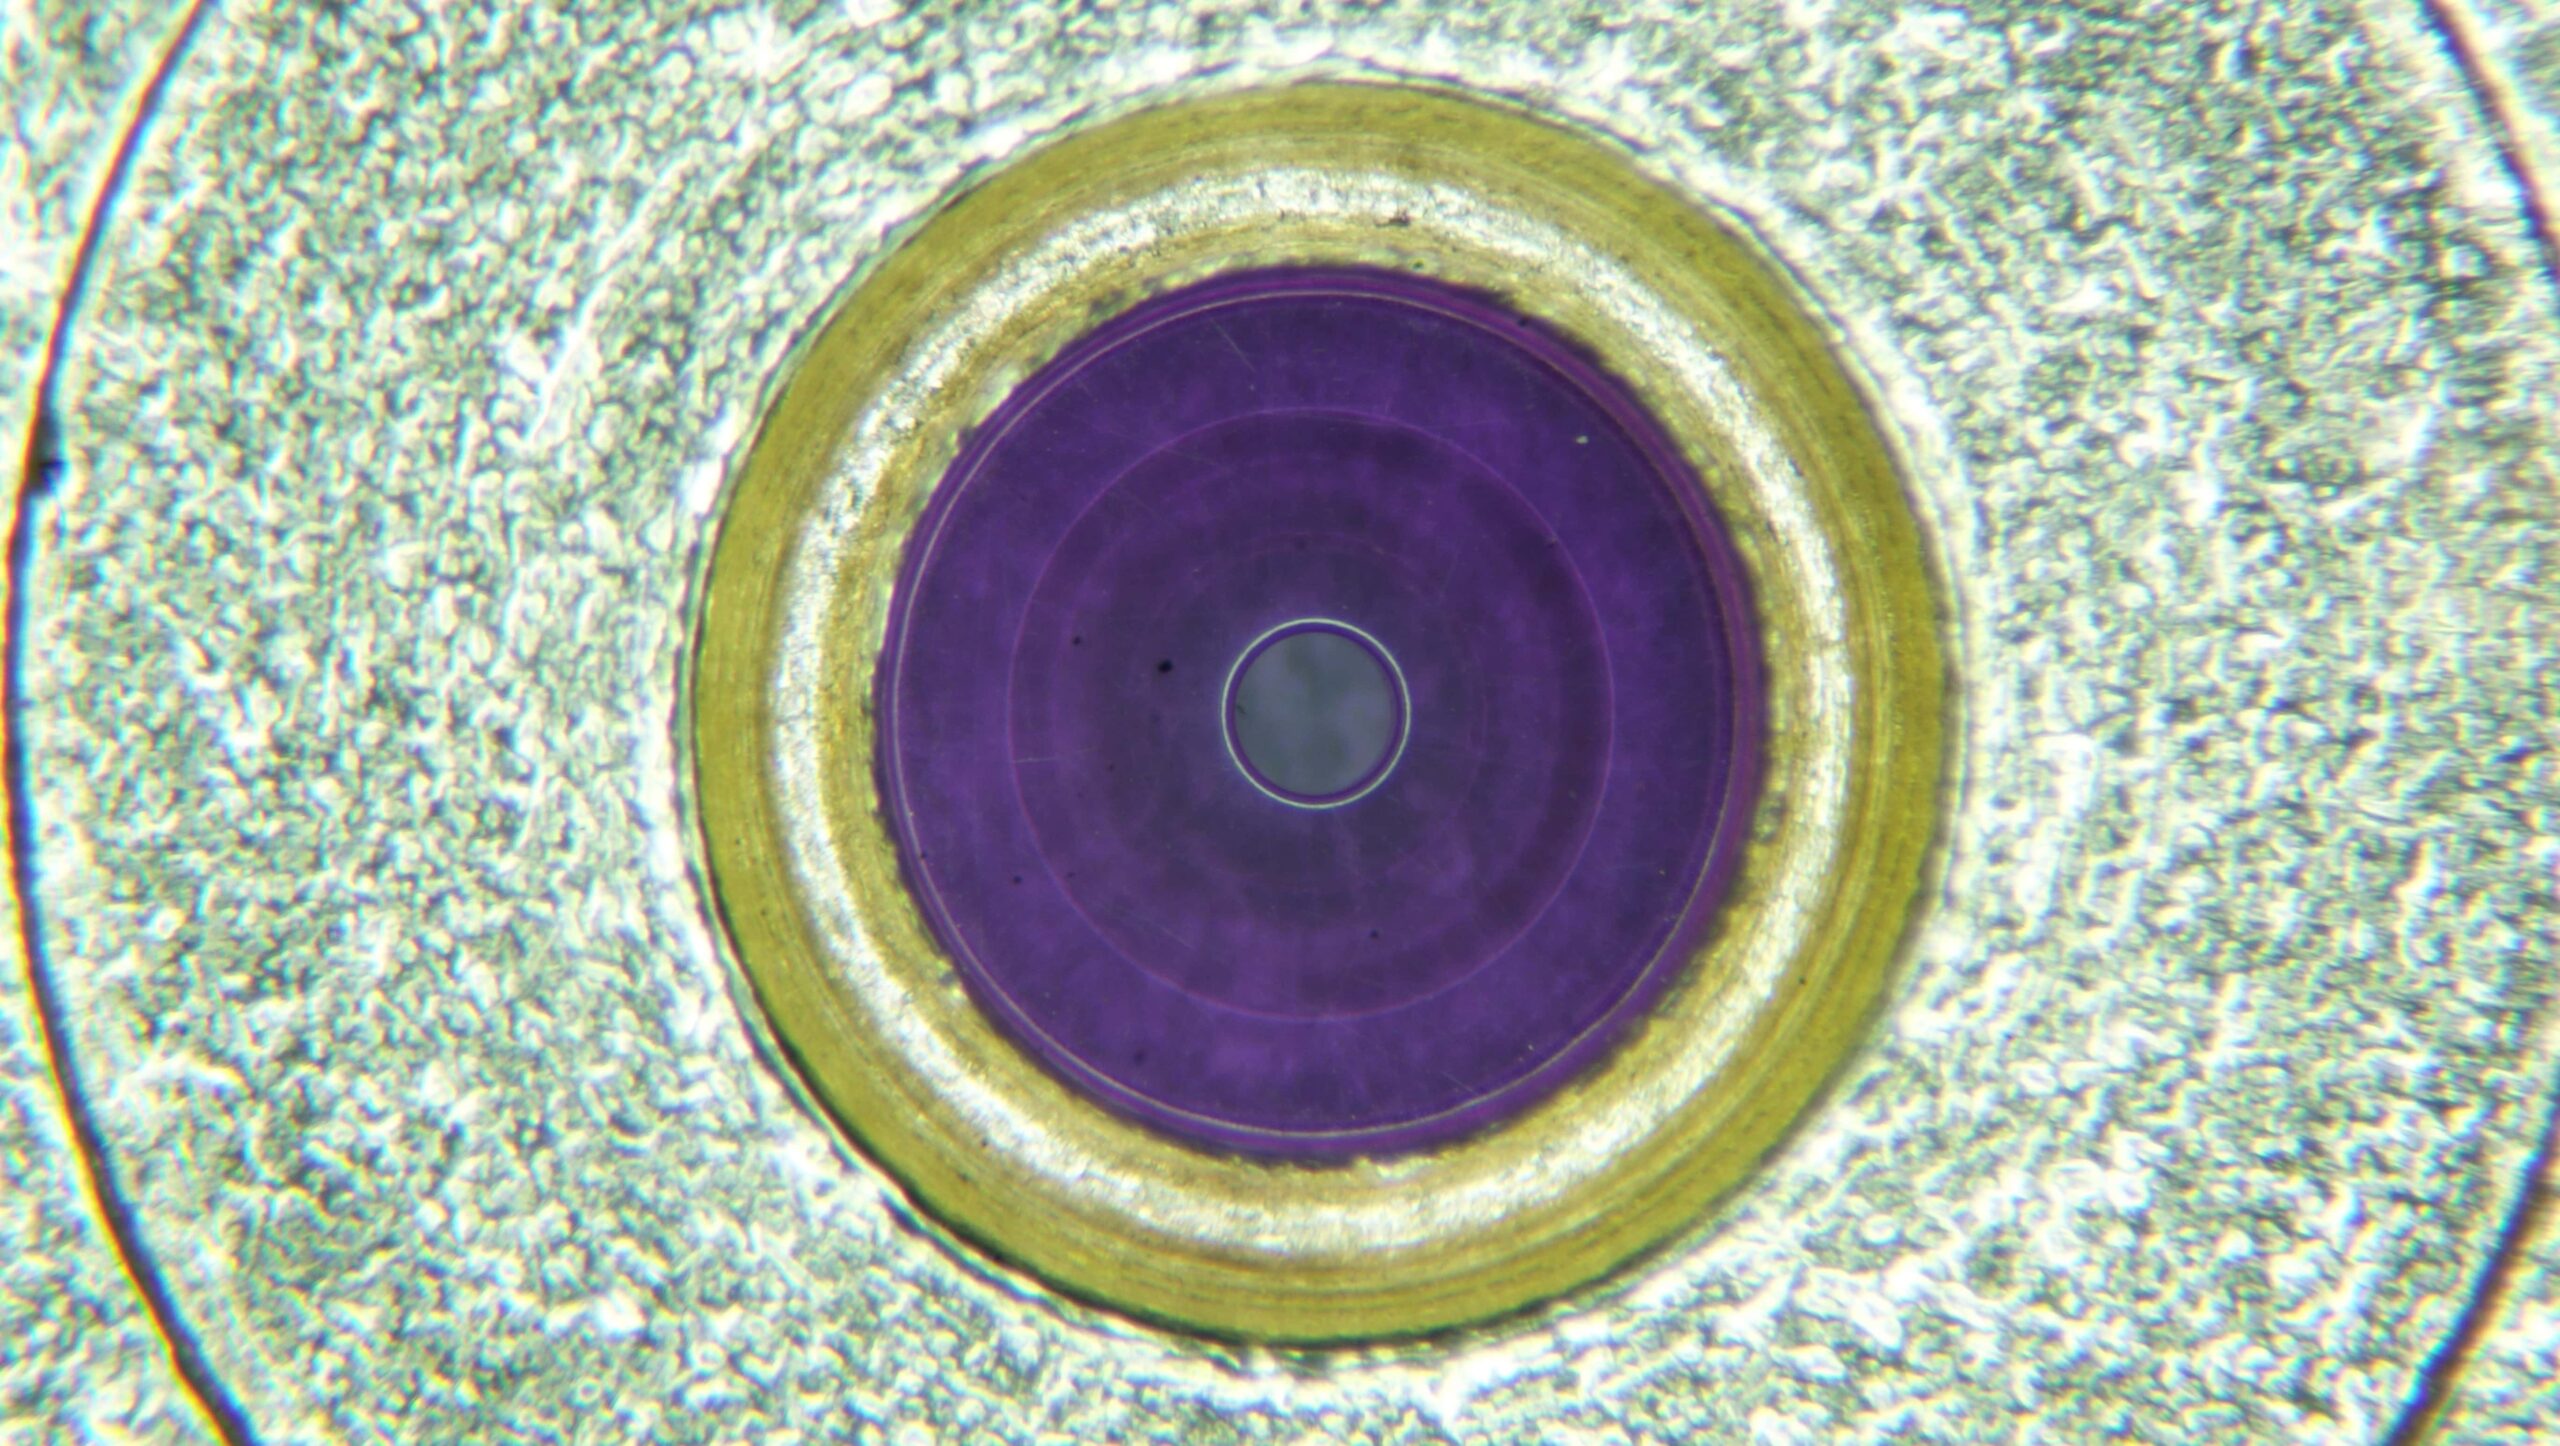
A new hole jewel is fitted by means of a friction fit.
While this differs from the original method of setting, it allows for precise adjustment of the height of the jewel.
Due to the limited availability of friction fit sapphire jewels, a ruby jewel is selected in its place.
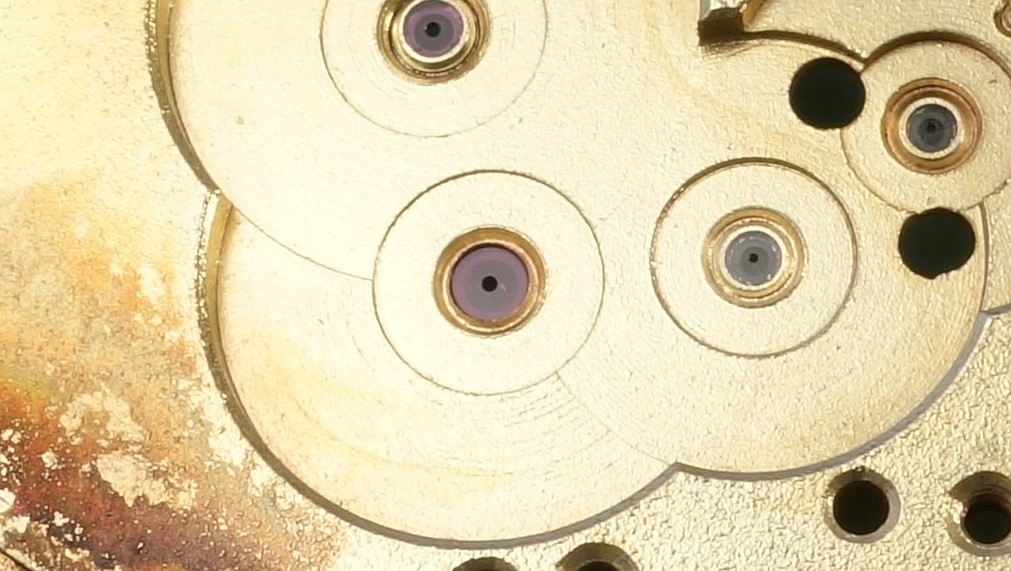
While this intervention may not constitute a strict restoration in the purist sense, it represents a considered and practical approach, prioritising functional integrity.
The pivot is now properly supported, and further wear is prevented.