
In many water-resistant watches, a rubber gasket is enclosed within the crown to maintain sealing integrity.
In manufacturer service centres, water resistance is typically restored by replacing the entire crown assembly.
In the case of vintage timepieces, however, replacement crowns are often no longer available, and preserving the original component is frequently preferred.
For this reason, the gasket alone is replaced, while retaining the original crown.
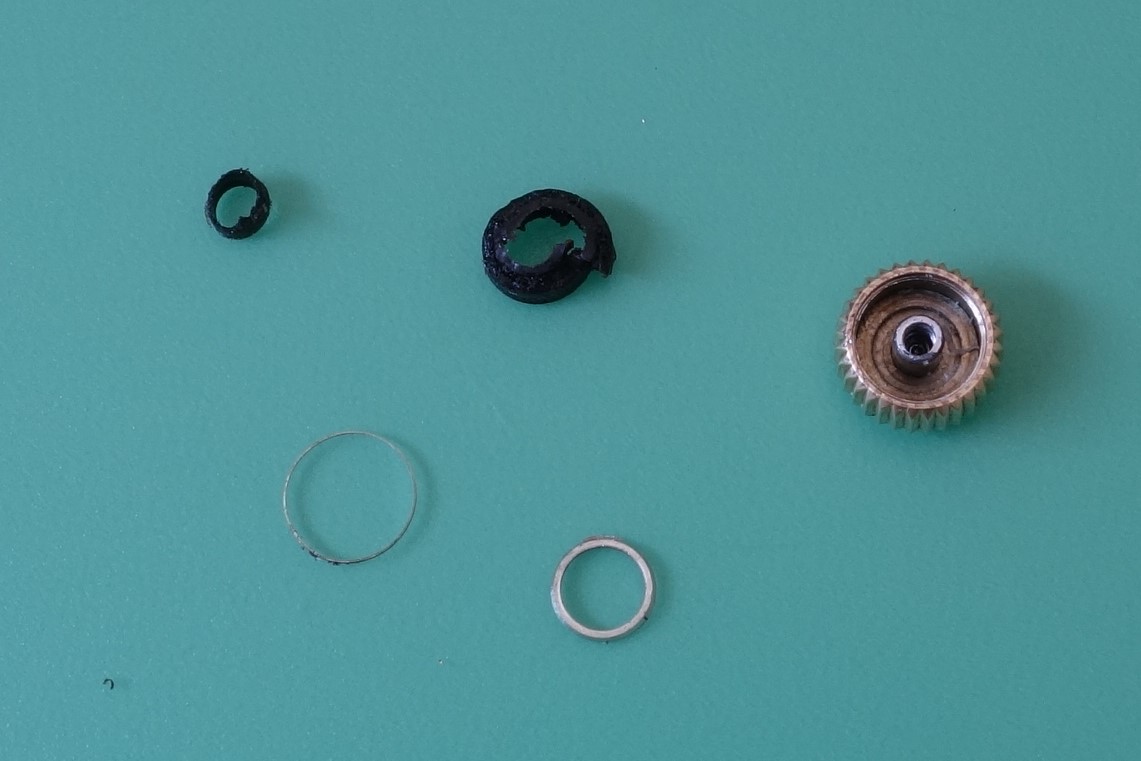
The cap of the crown is carefully removed on the lathe, allowing access to the interior.

Accumulated debris and the degraded gasket are then cleared.
Particular care is required in securing the crown, as direct clamping may damage the fluted edges.
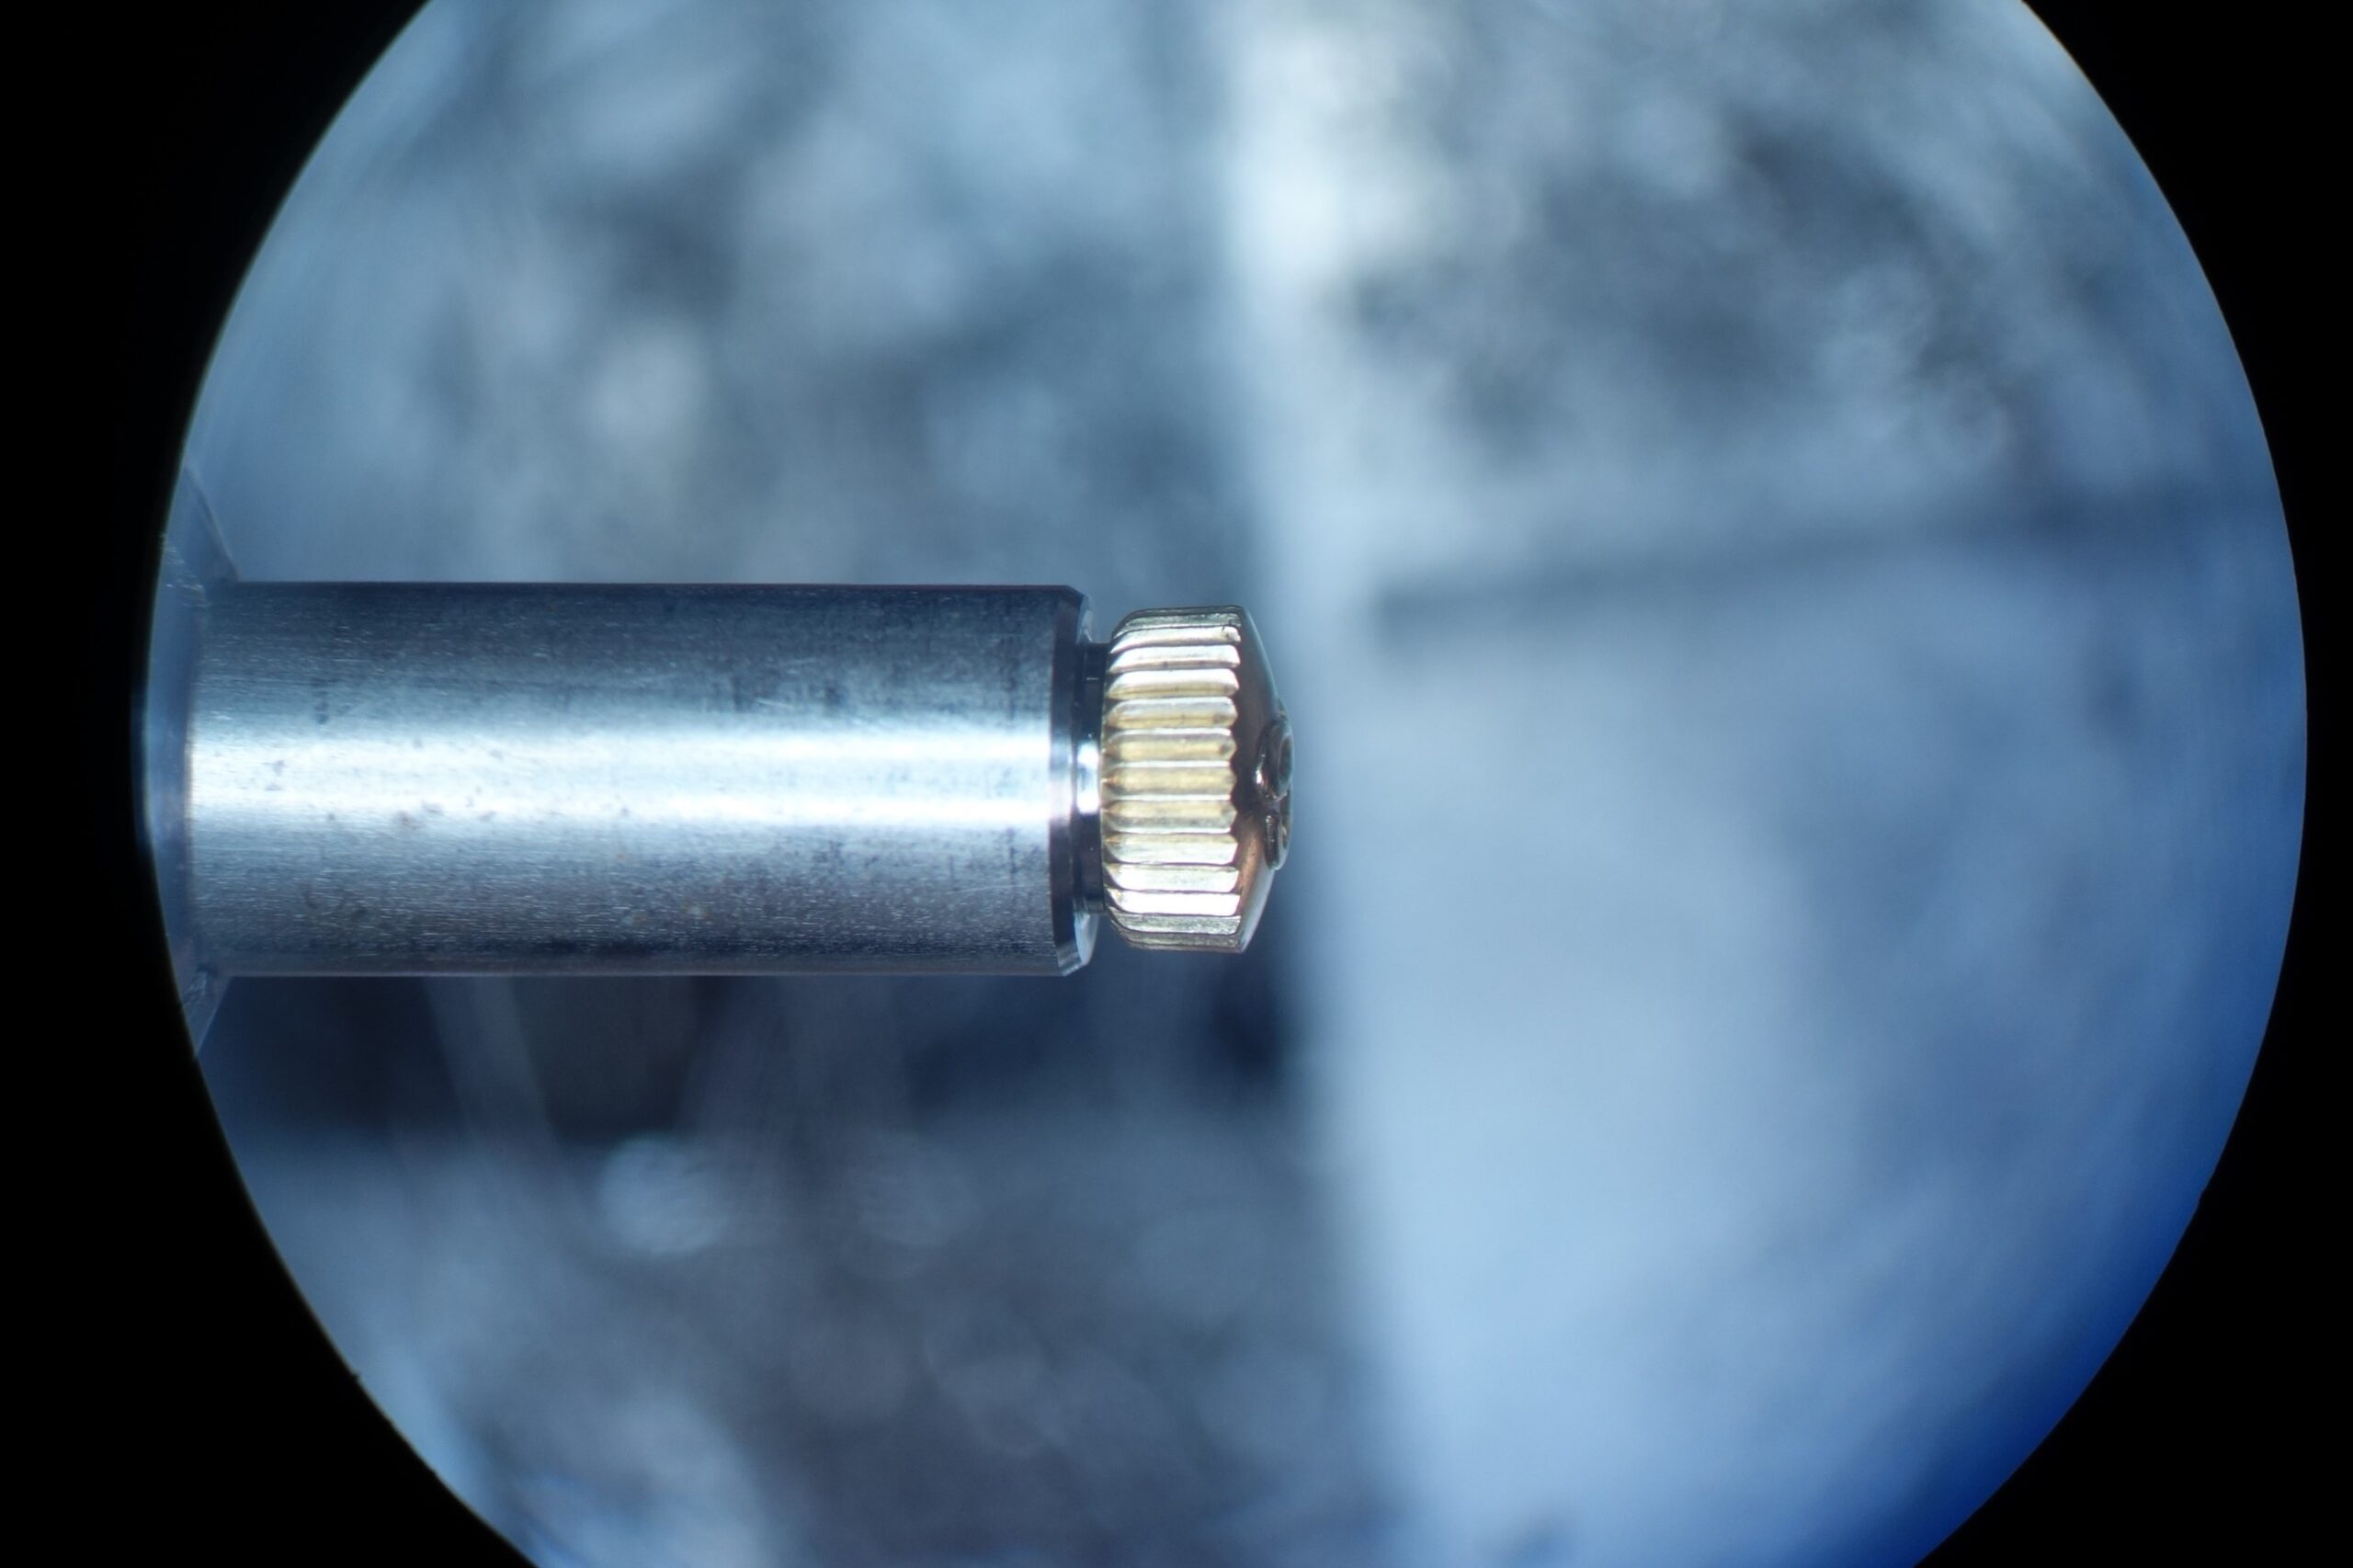
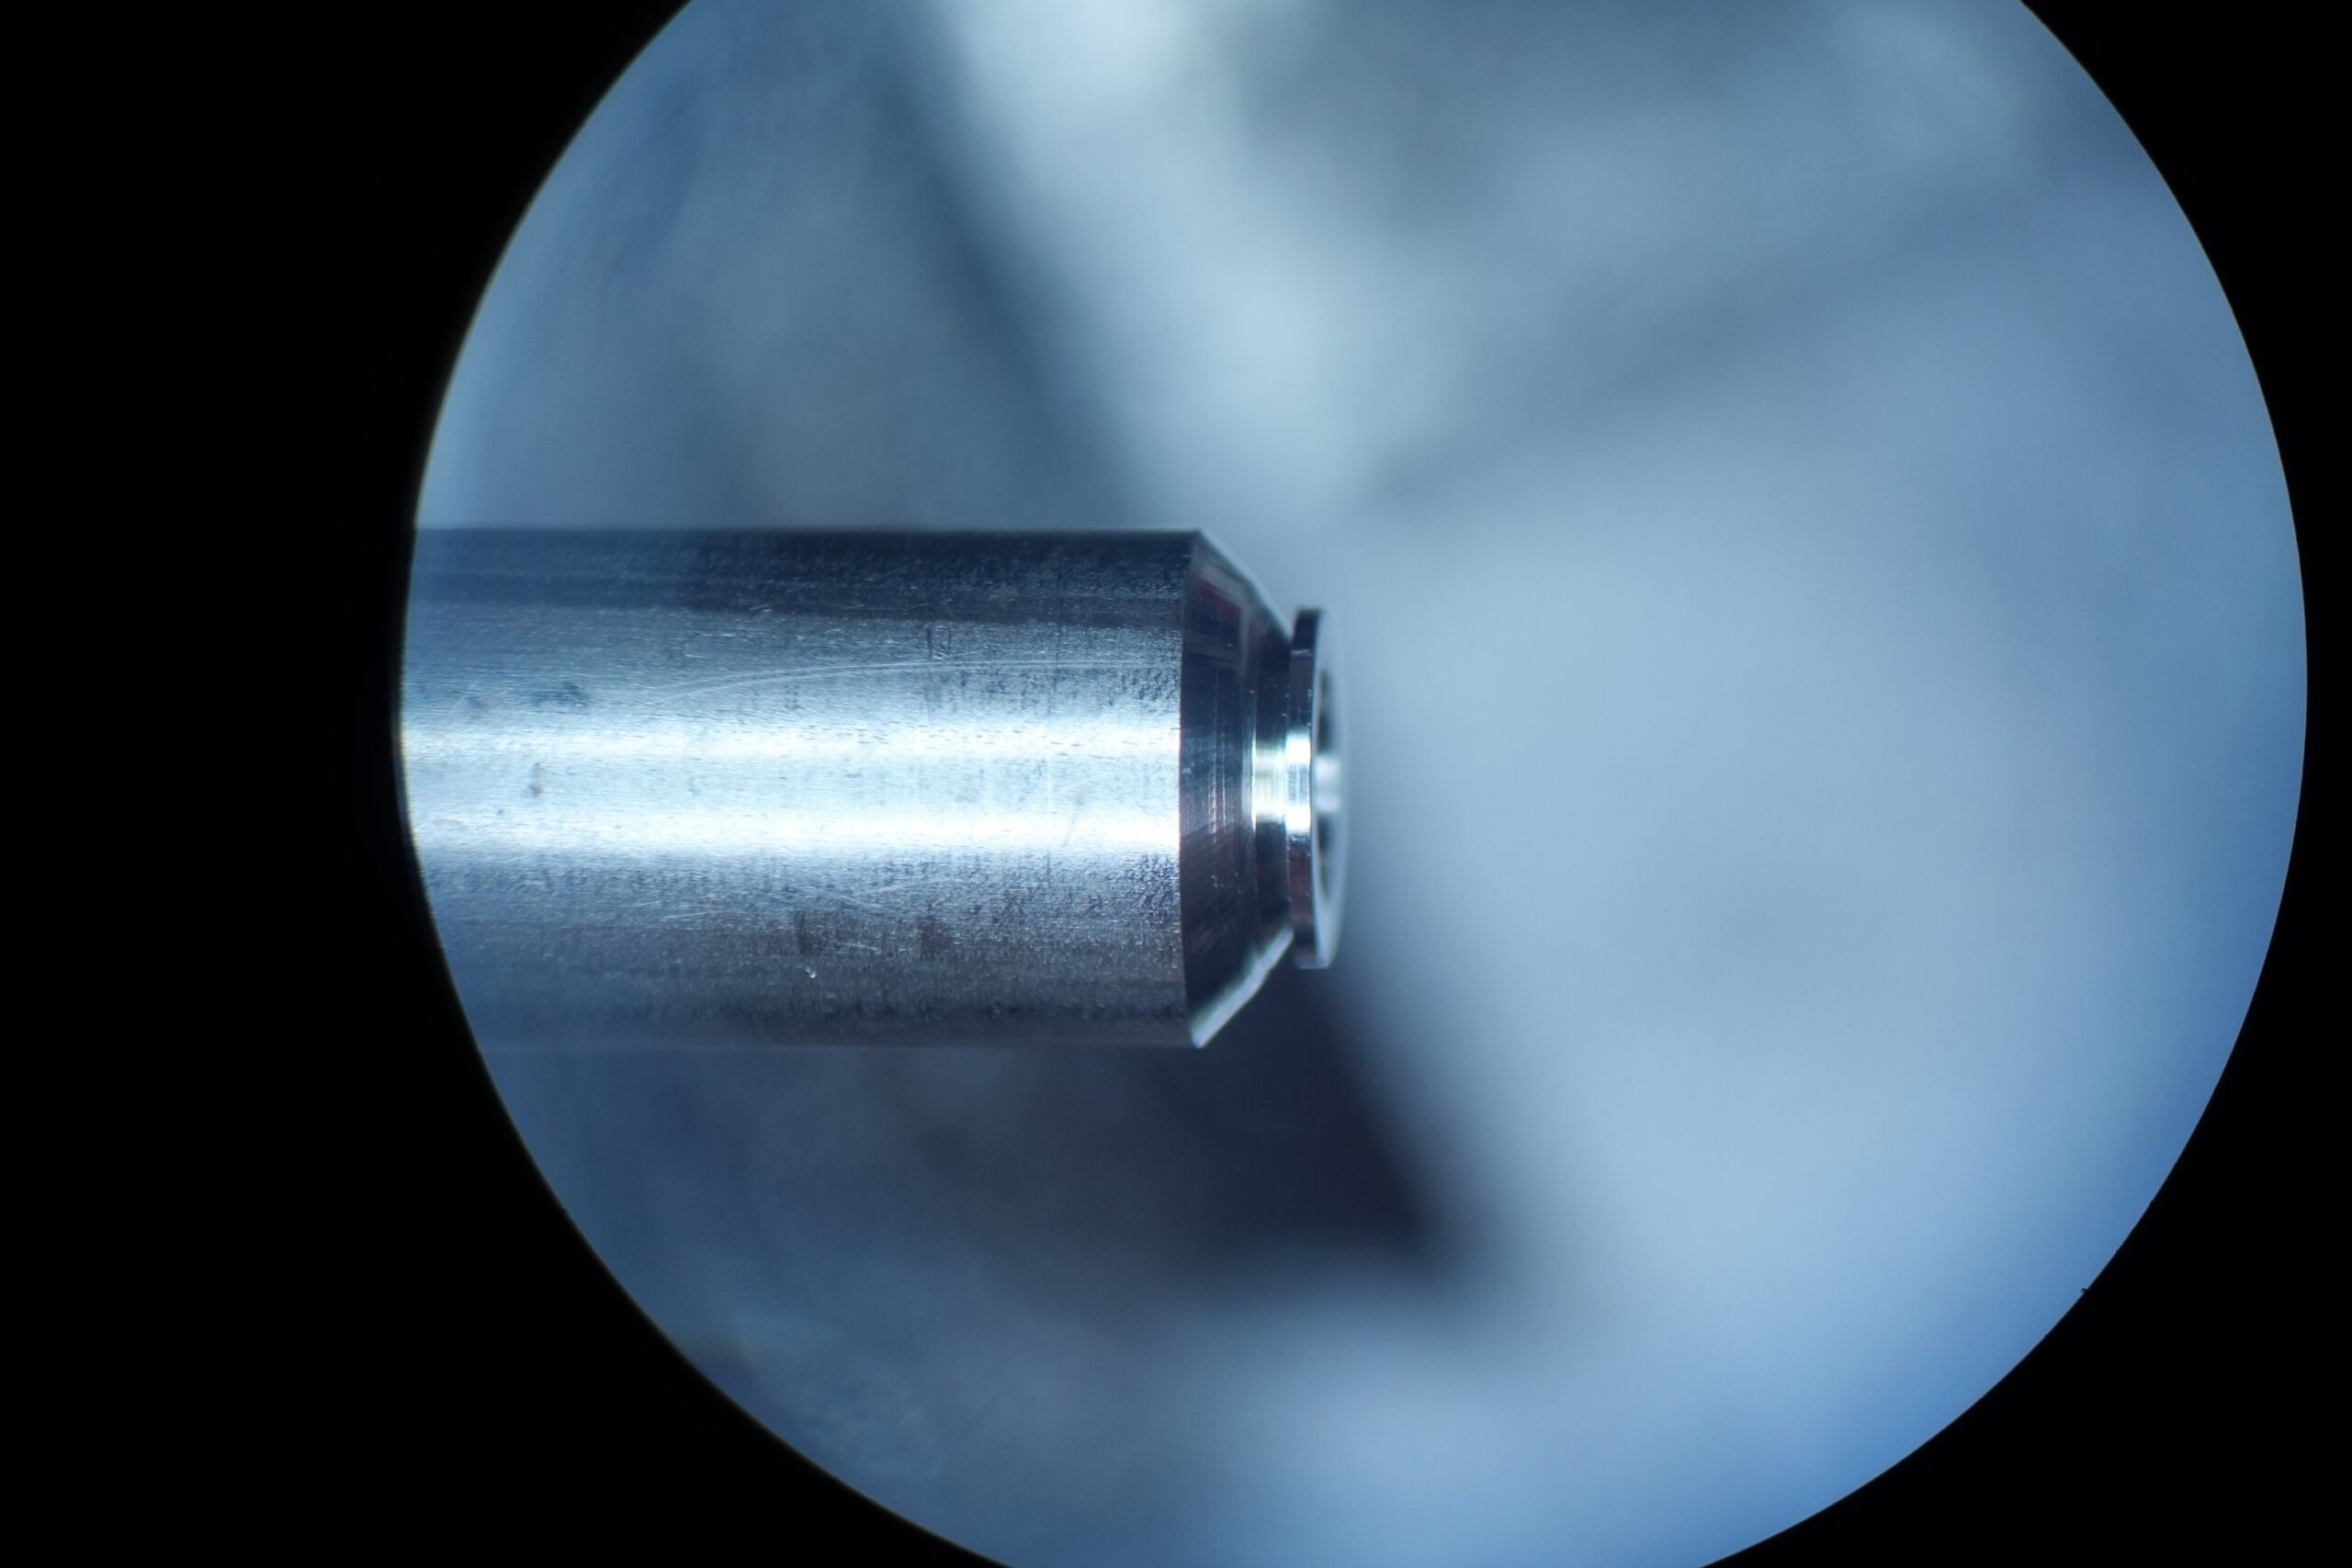
A new cap is turned on the lathe to match the original form.
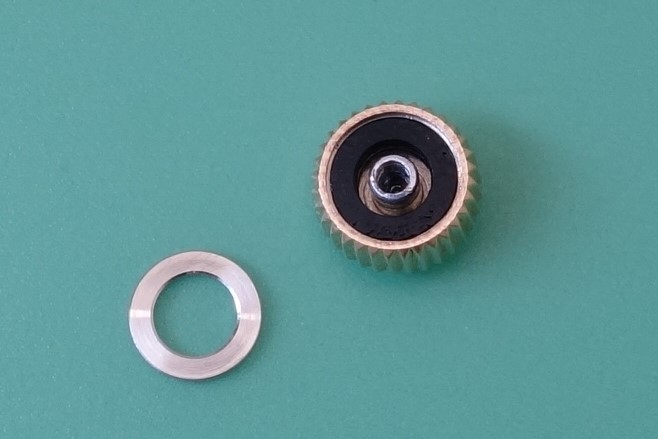
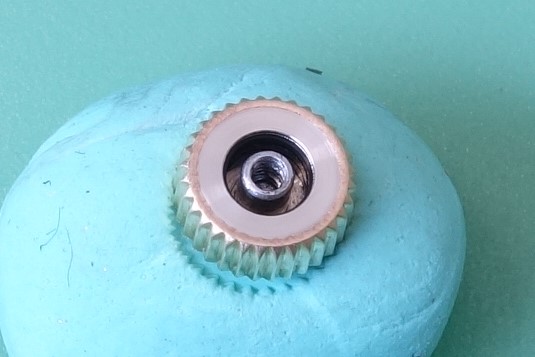
A gasket of appropriate dimension is fitted within the crown.
The new cap is then installed and secured by riveting.
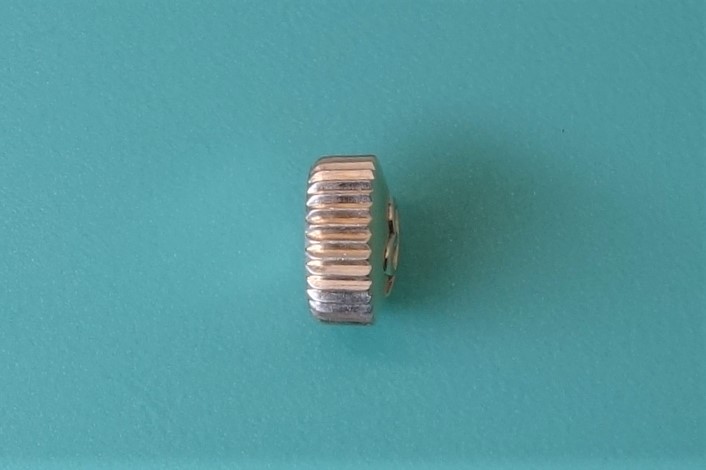
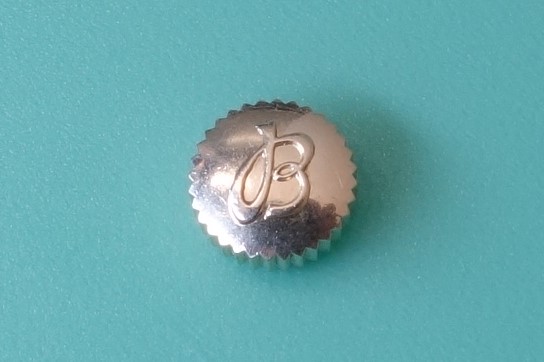
Throughout the process, care is taken to avoid any contact with the external surfaces—specifically the fluted edges and the upper face bearing the logo—so that no visible change is introduced.
The work is thus completed.