
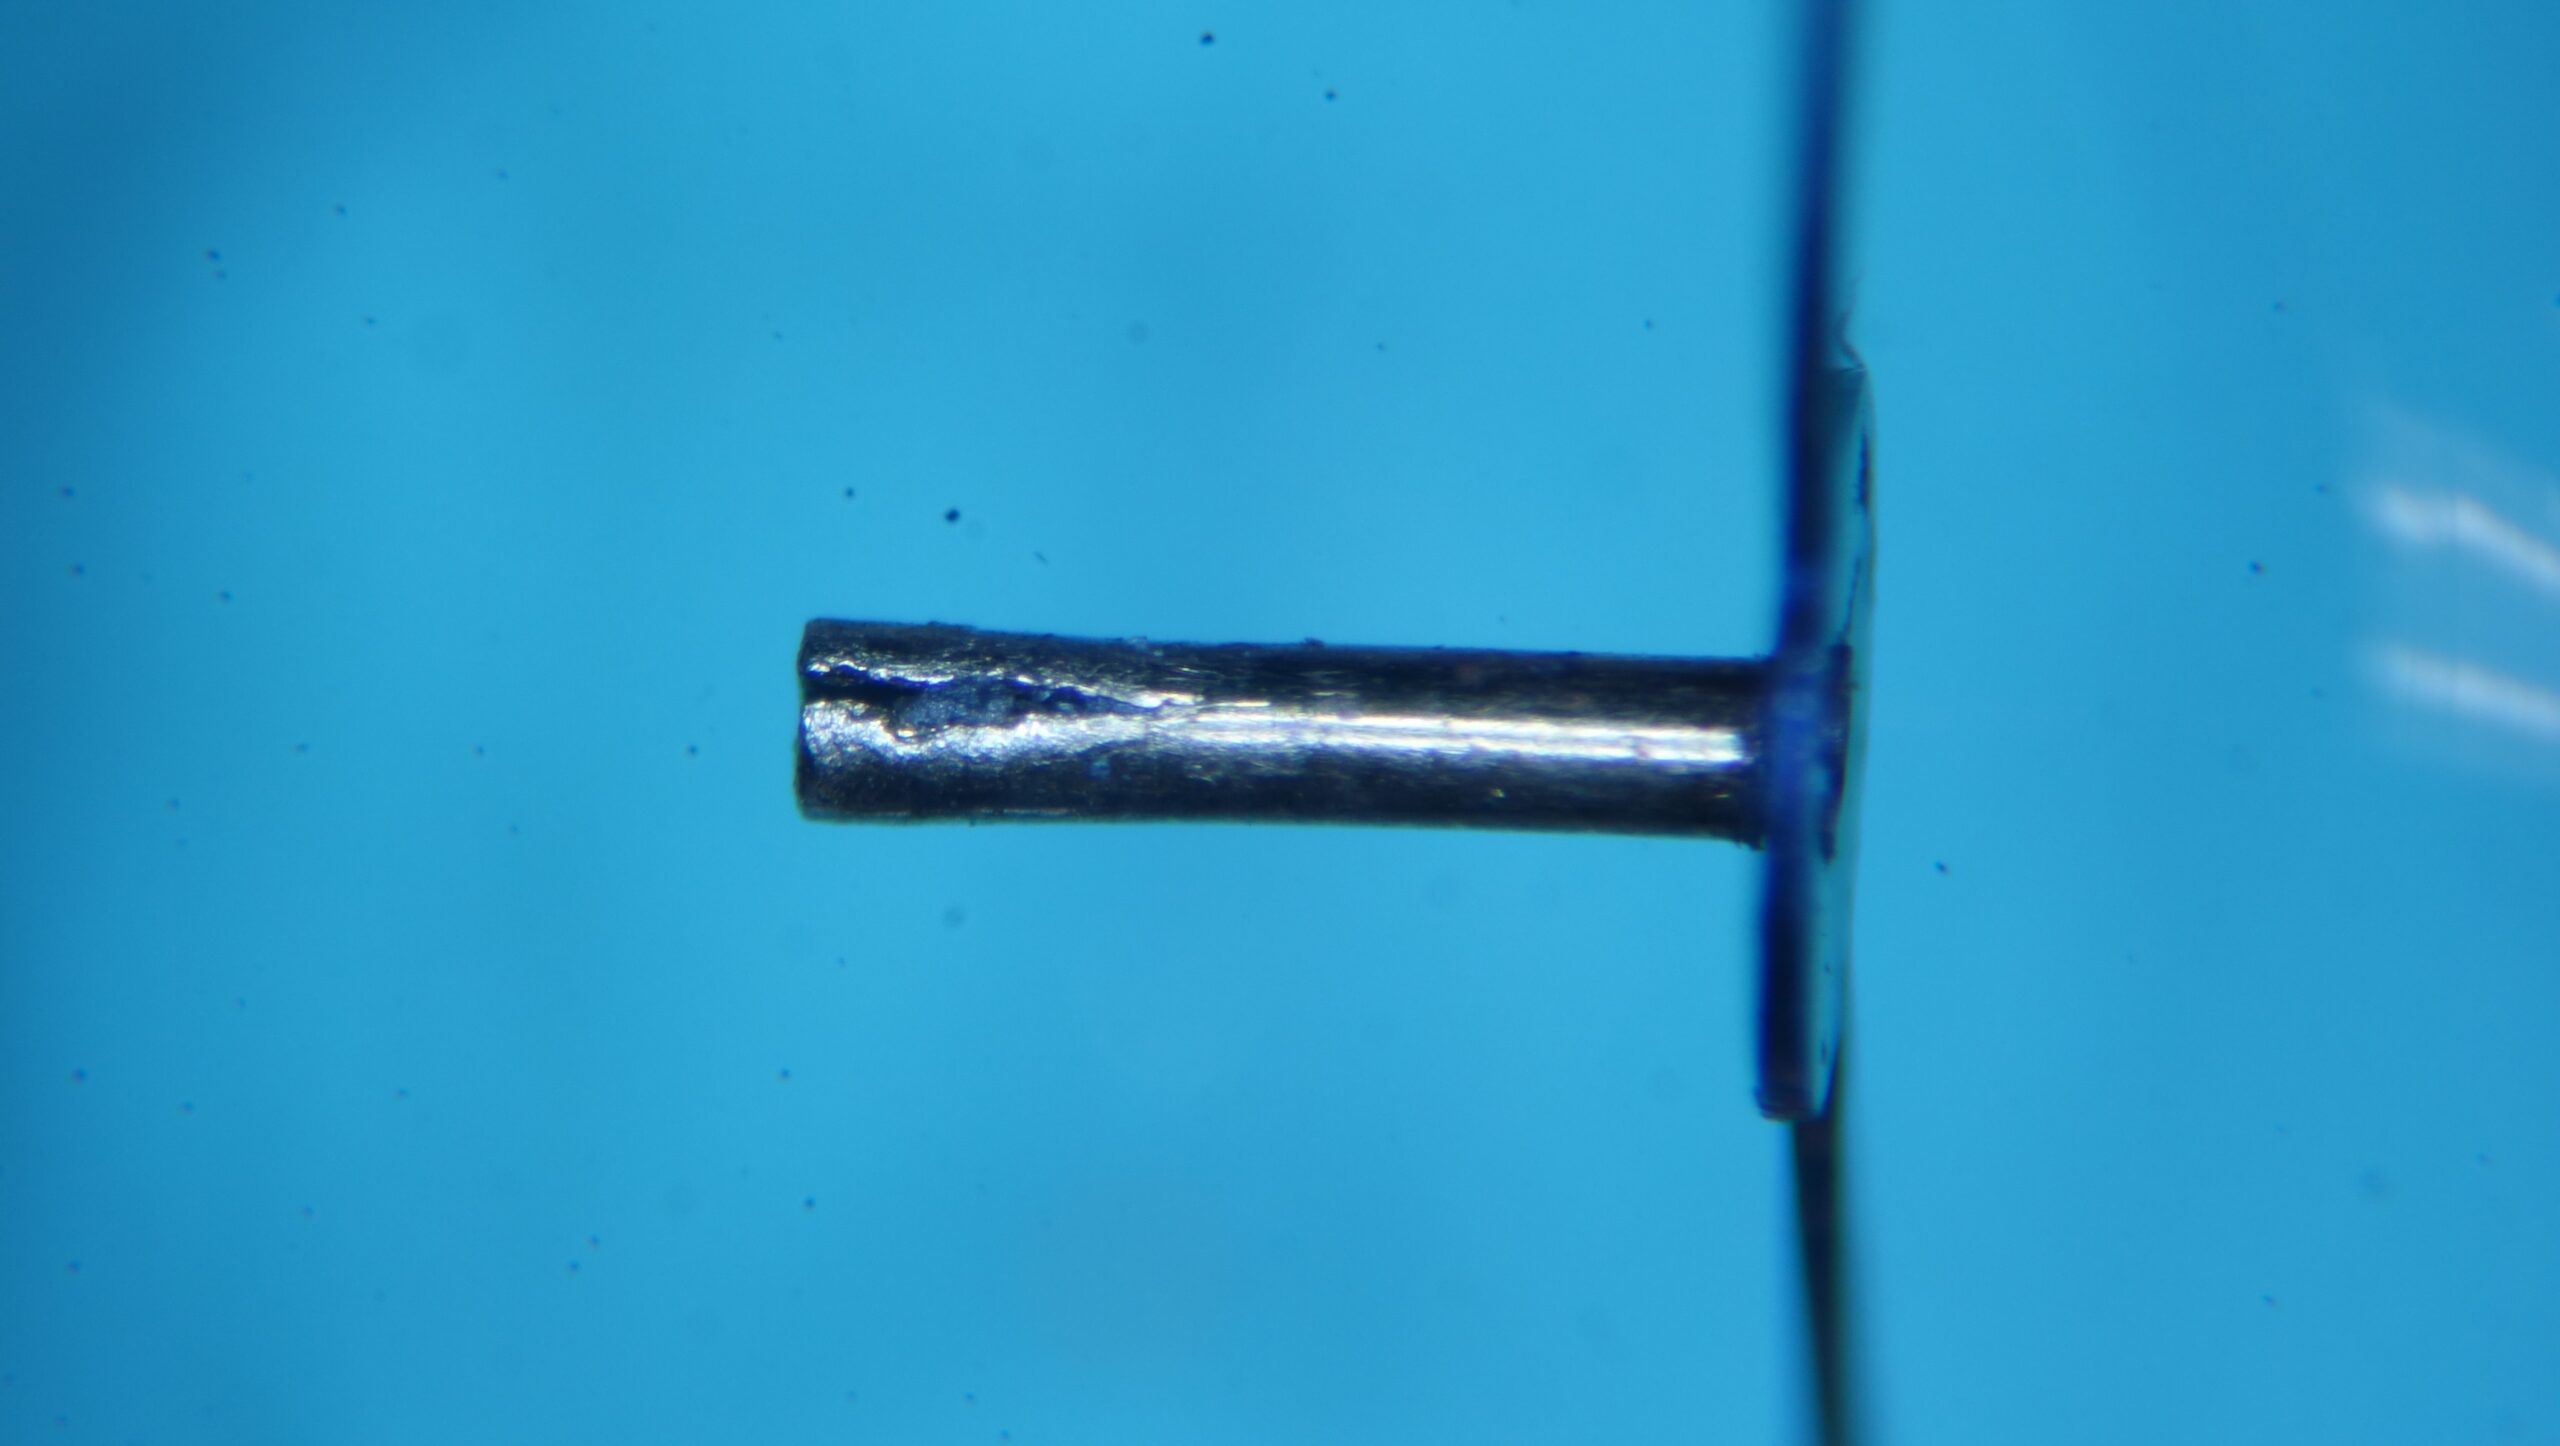
Chronograph hands are fitted more securely than standard hands, as they must return instantaneously to zero during reset.
Through repeated servicing and re-fitting, the tube may be subjected to excessive pressure when pressed onto the pivot, leading to cracking, as shown, and resulting in a loose fit.
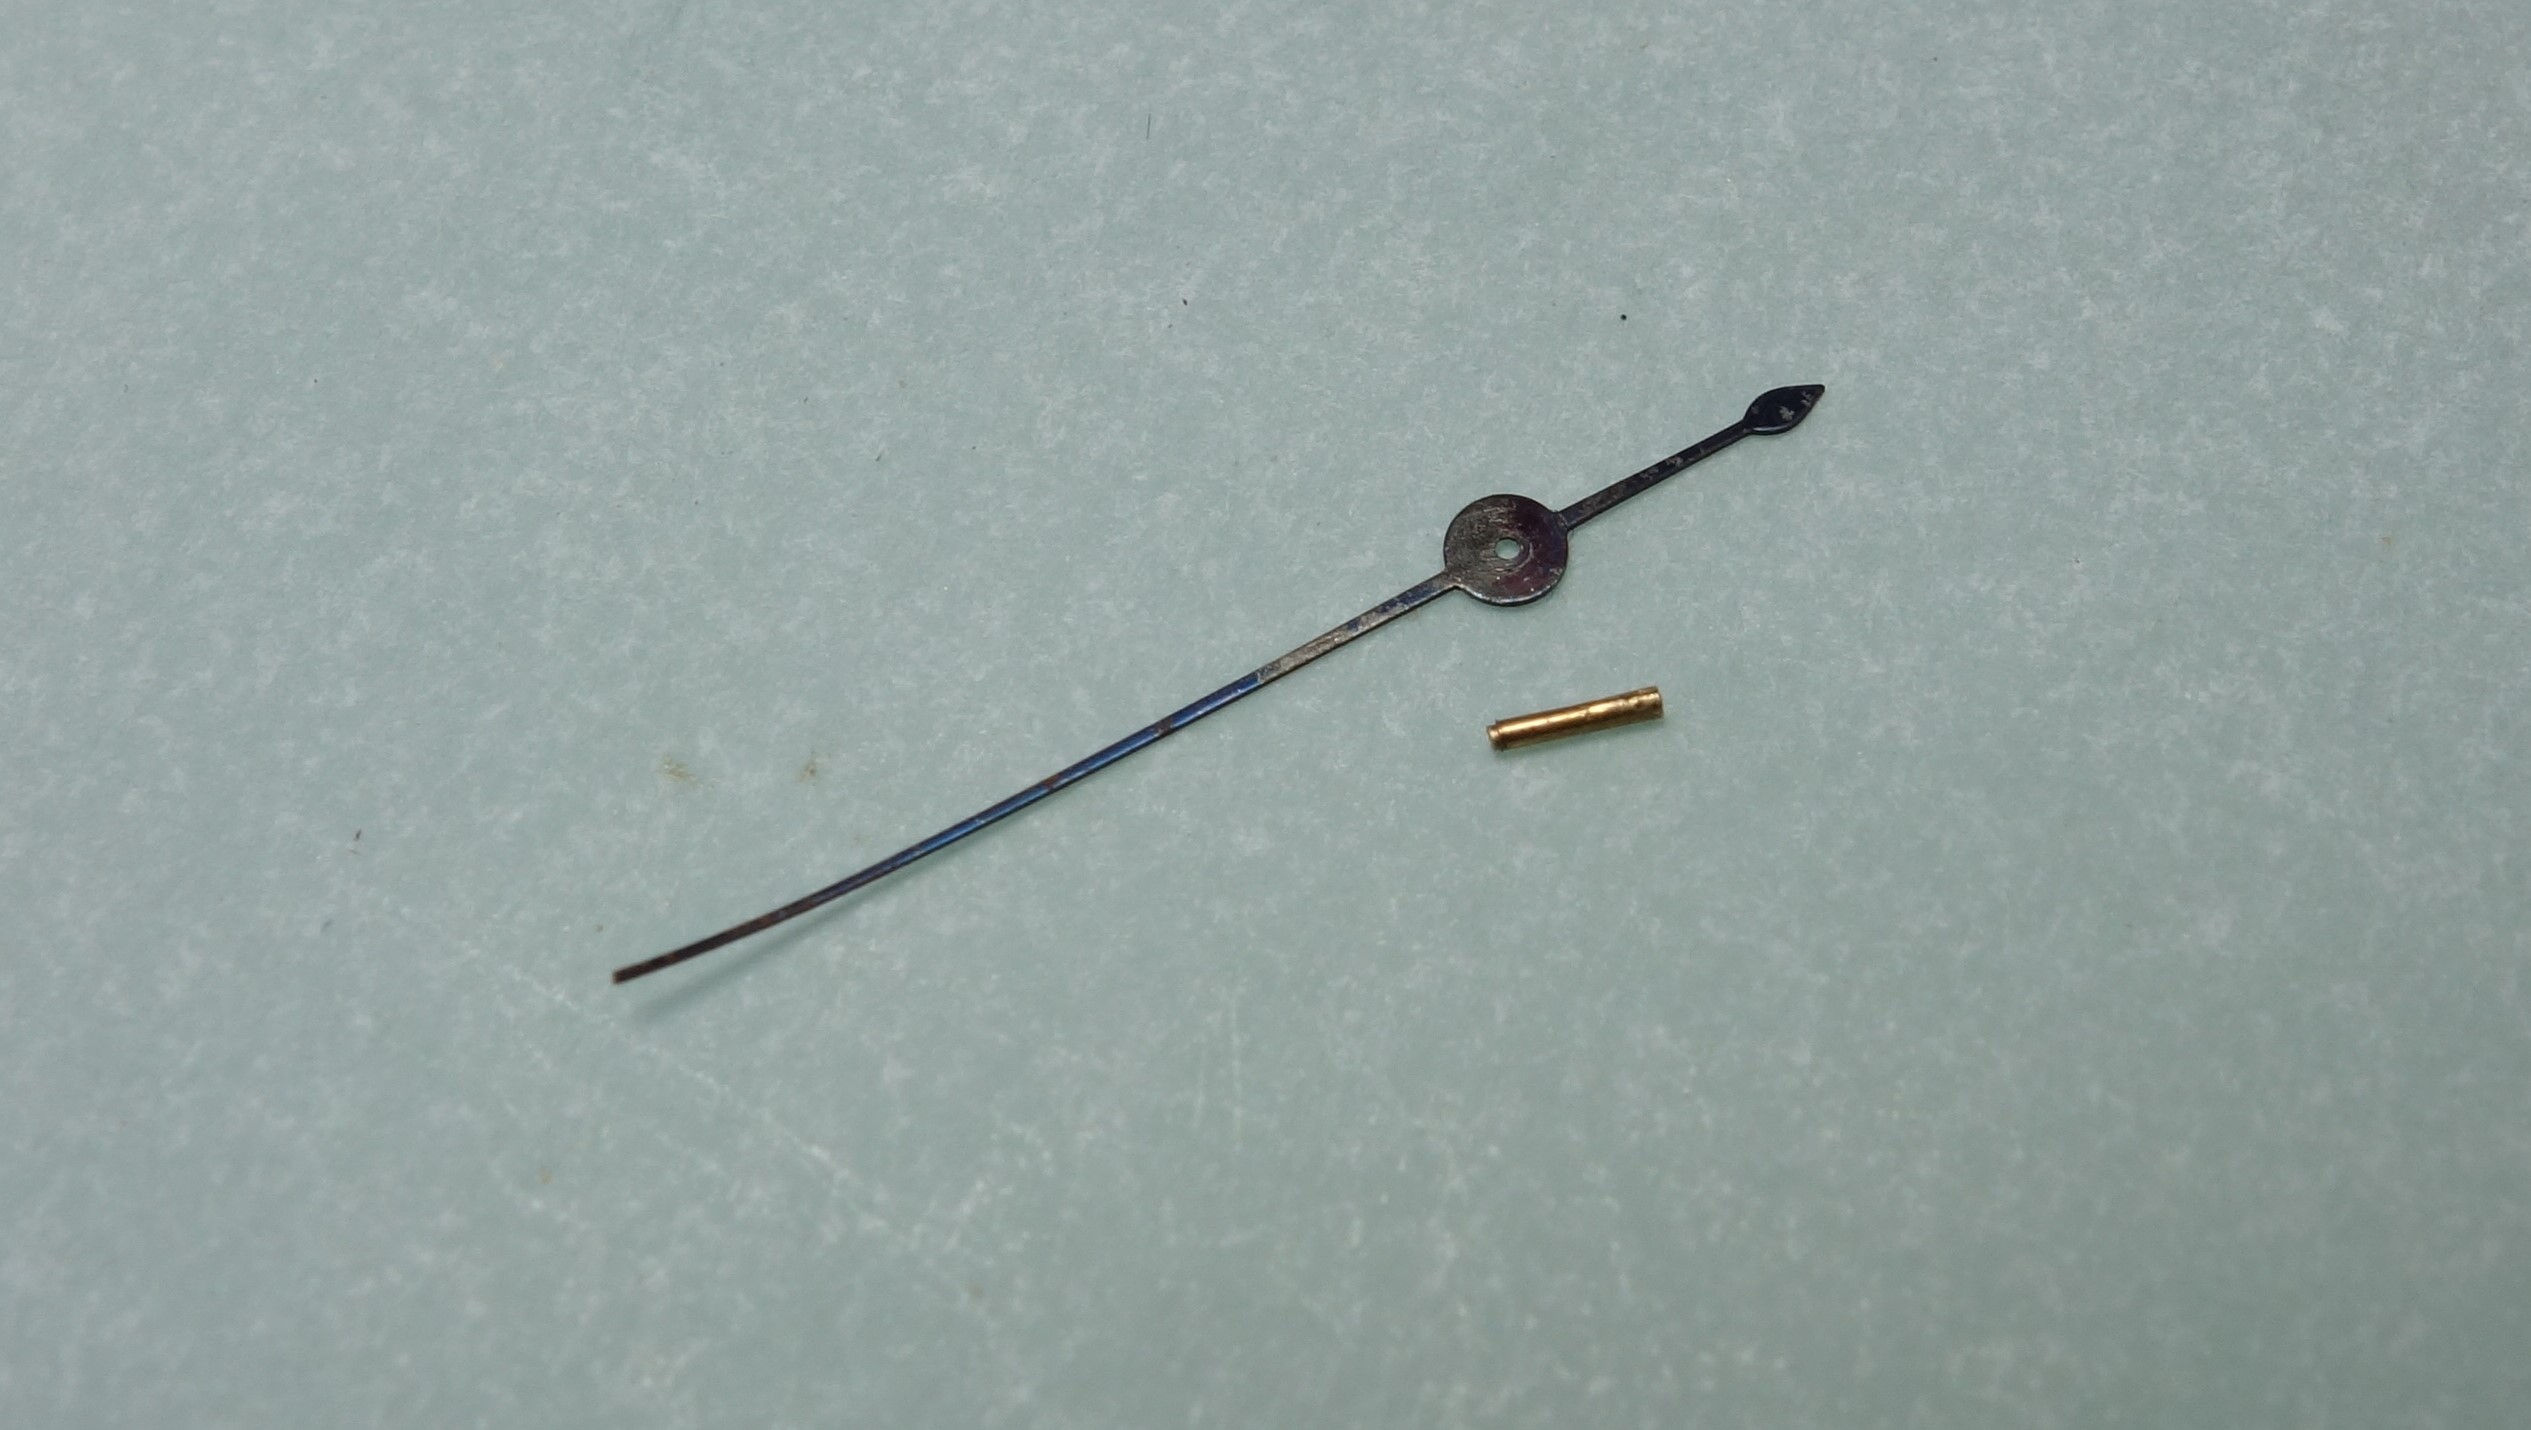
The original tube is secured in the lathe, and the riveted portion is carefully turned away to release the hand.
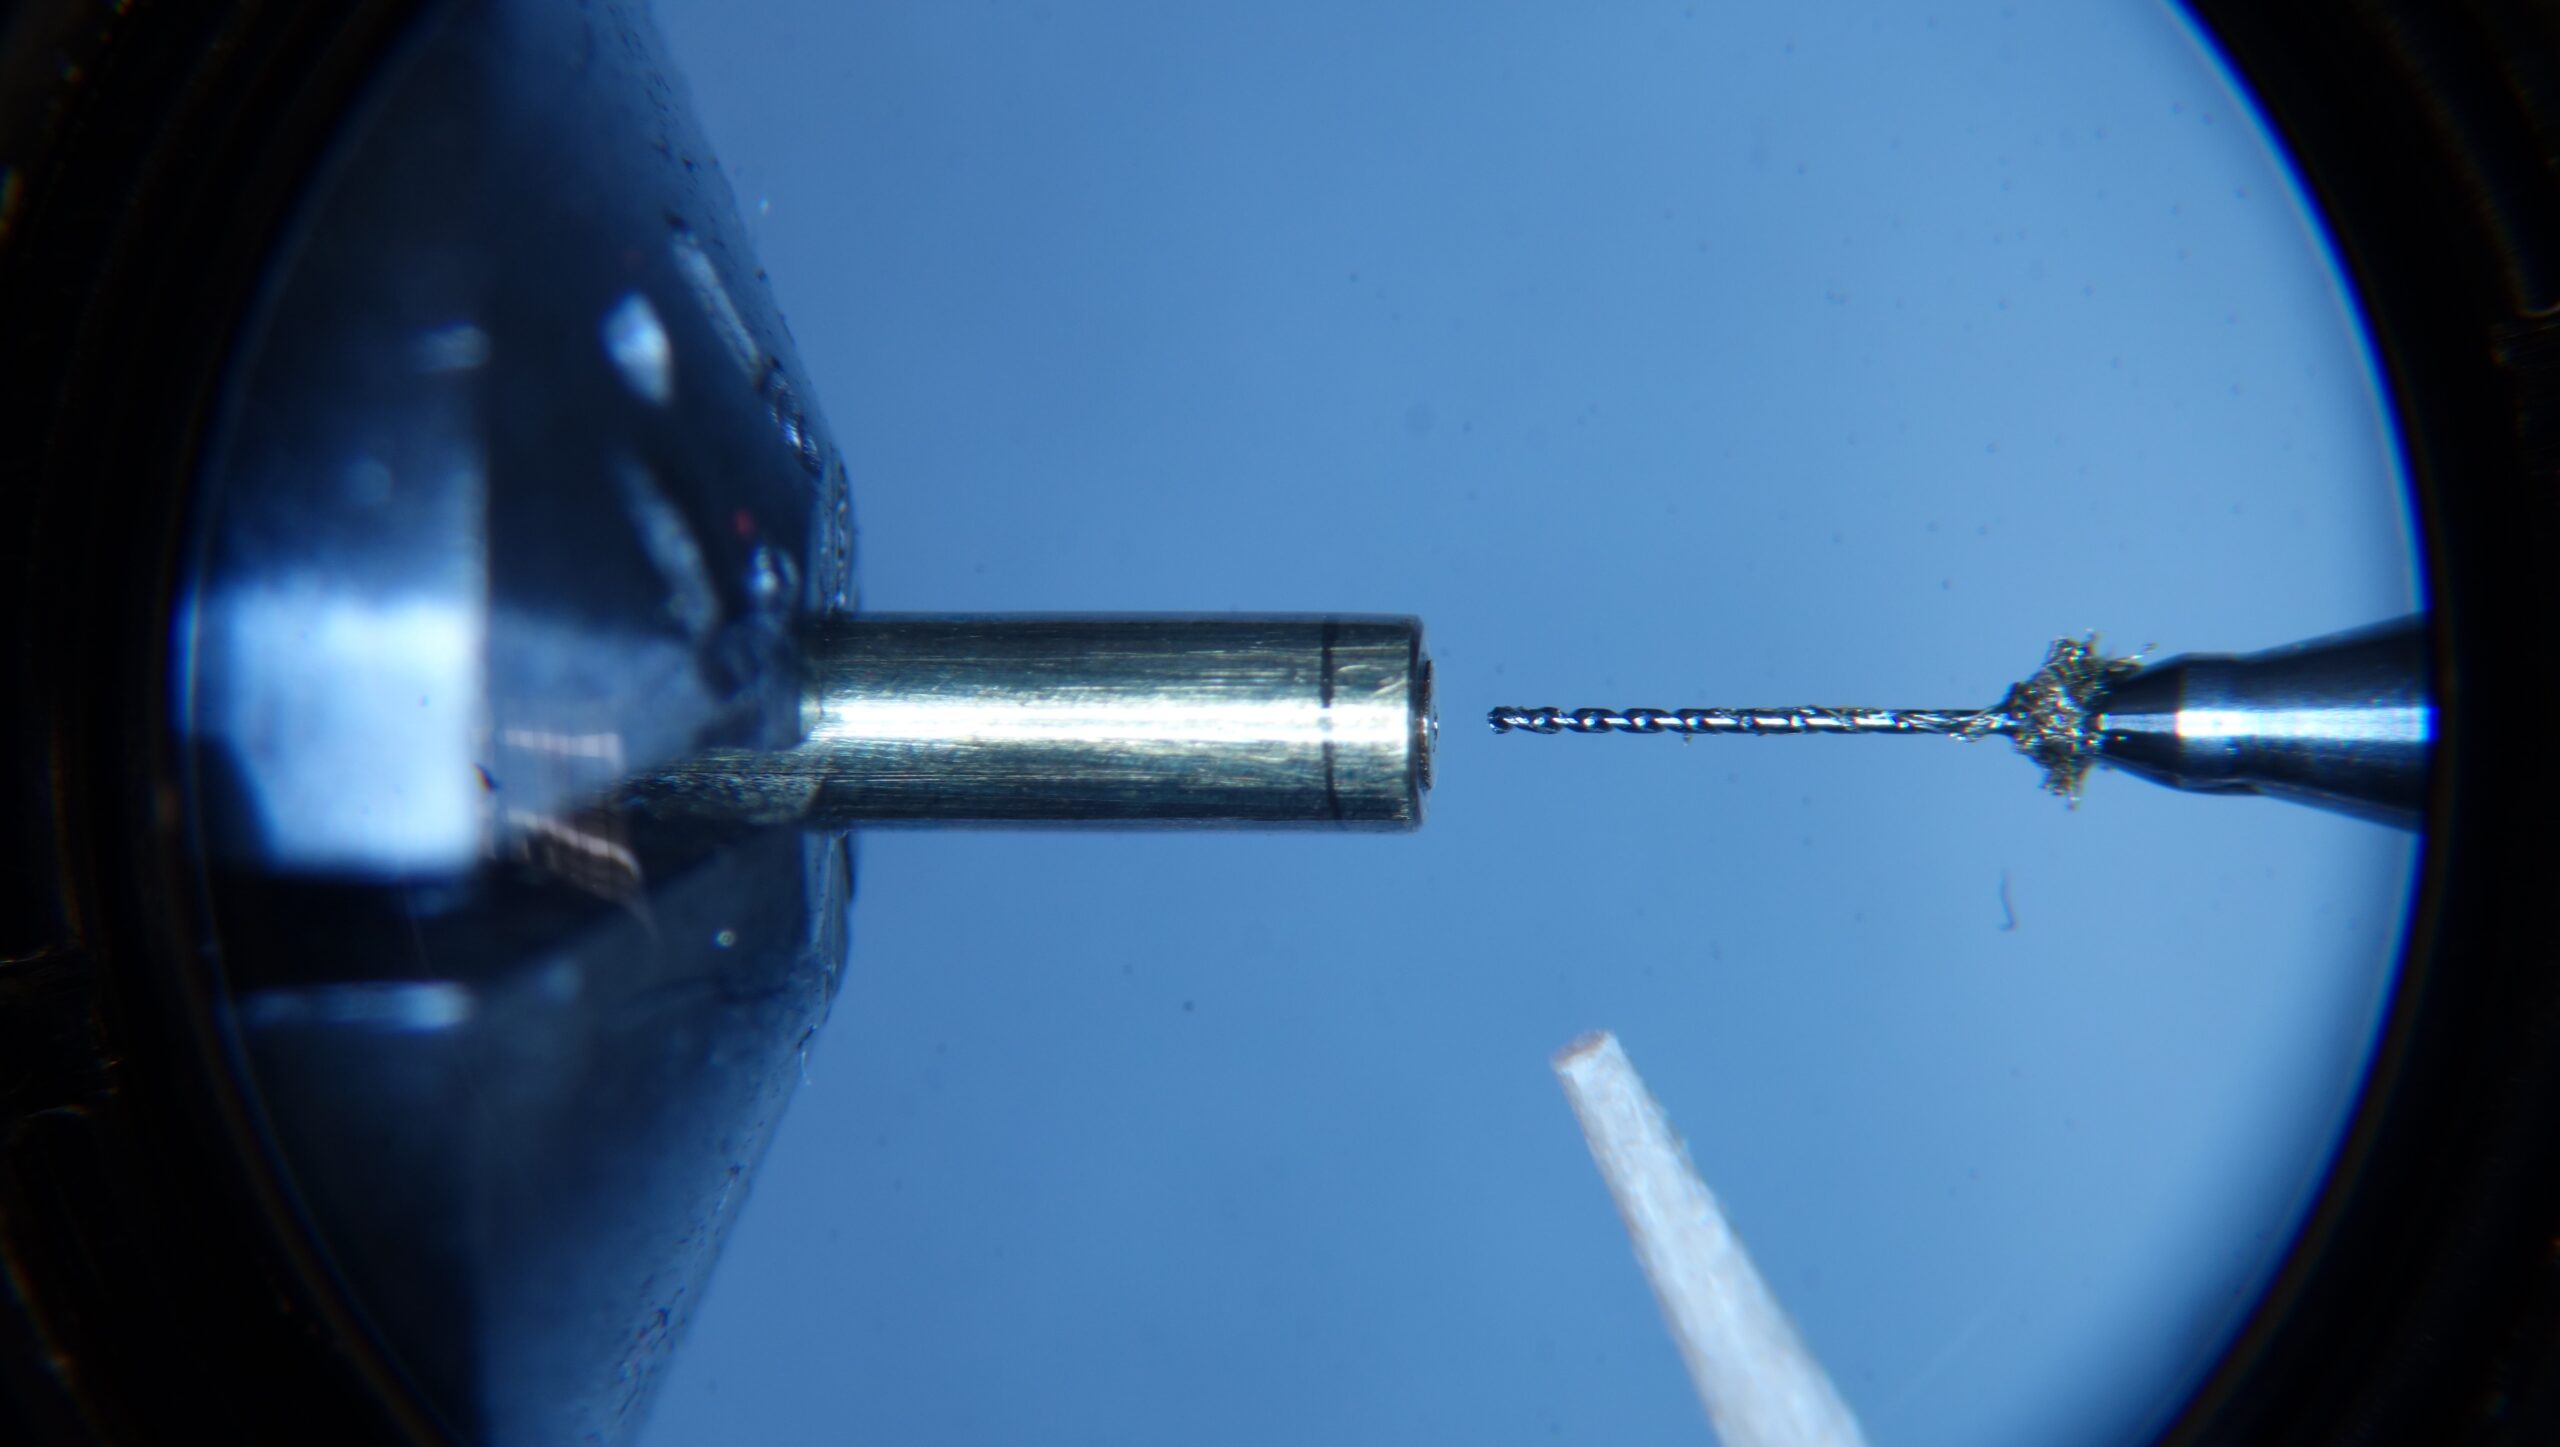
A new tube is fabricated.
The central bore is formed using a fine carbide drill.
Owing to the ductility of the brass and the depth of the bore relative to its diameter, this operation requires a particularly controlled approach.

The tube is brought to its final dimensions and parted from the lathe.
Certain refinements are introduced relative to the original design:
- The shoulder is made slightly more pronounced to allow for a more secure riveting of the hand.
- The form is adapted so that, during future servicing, the hand may be removed by lifting from the shoulder of the tube rather than from beneath the hand itself, reducing the risk of deformation while improving retention.
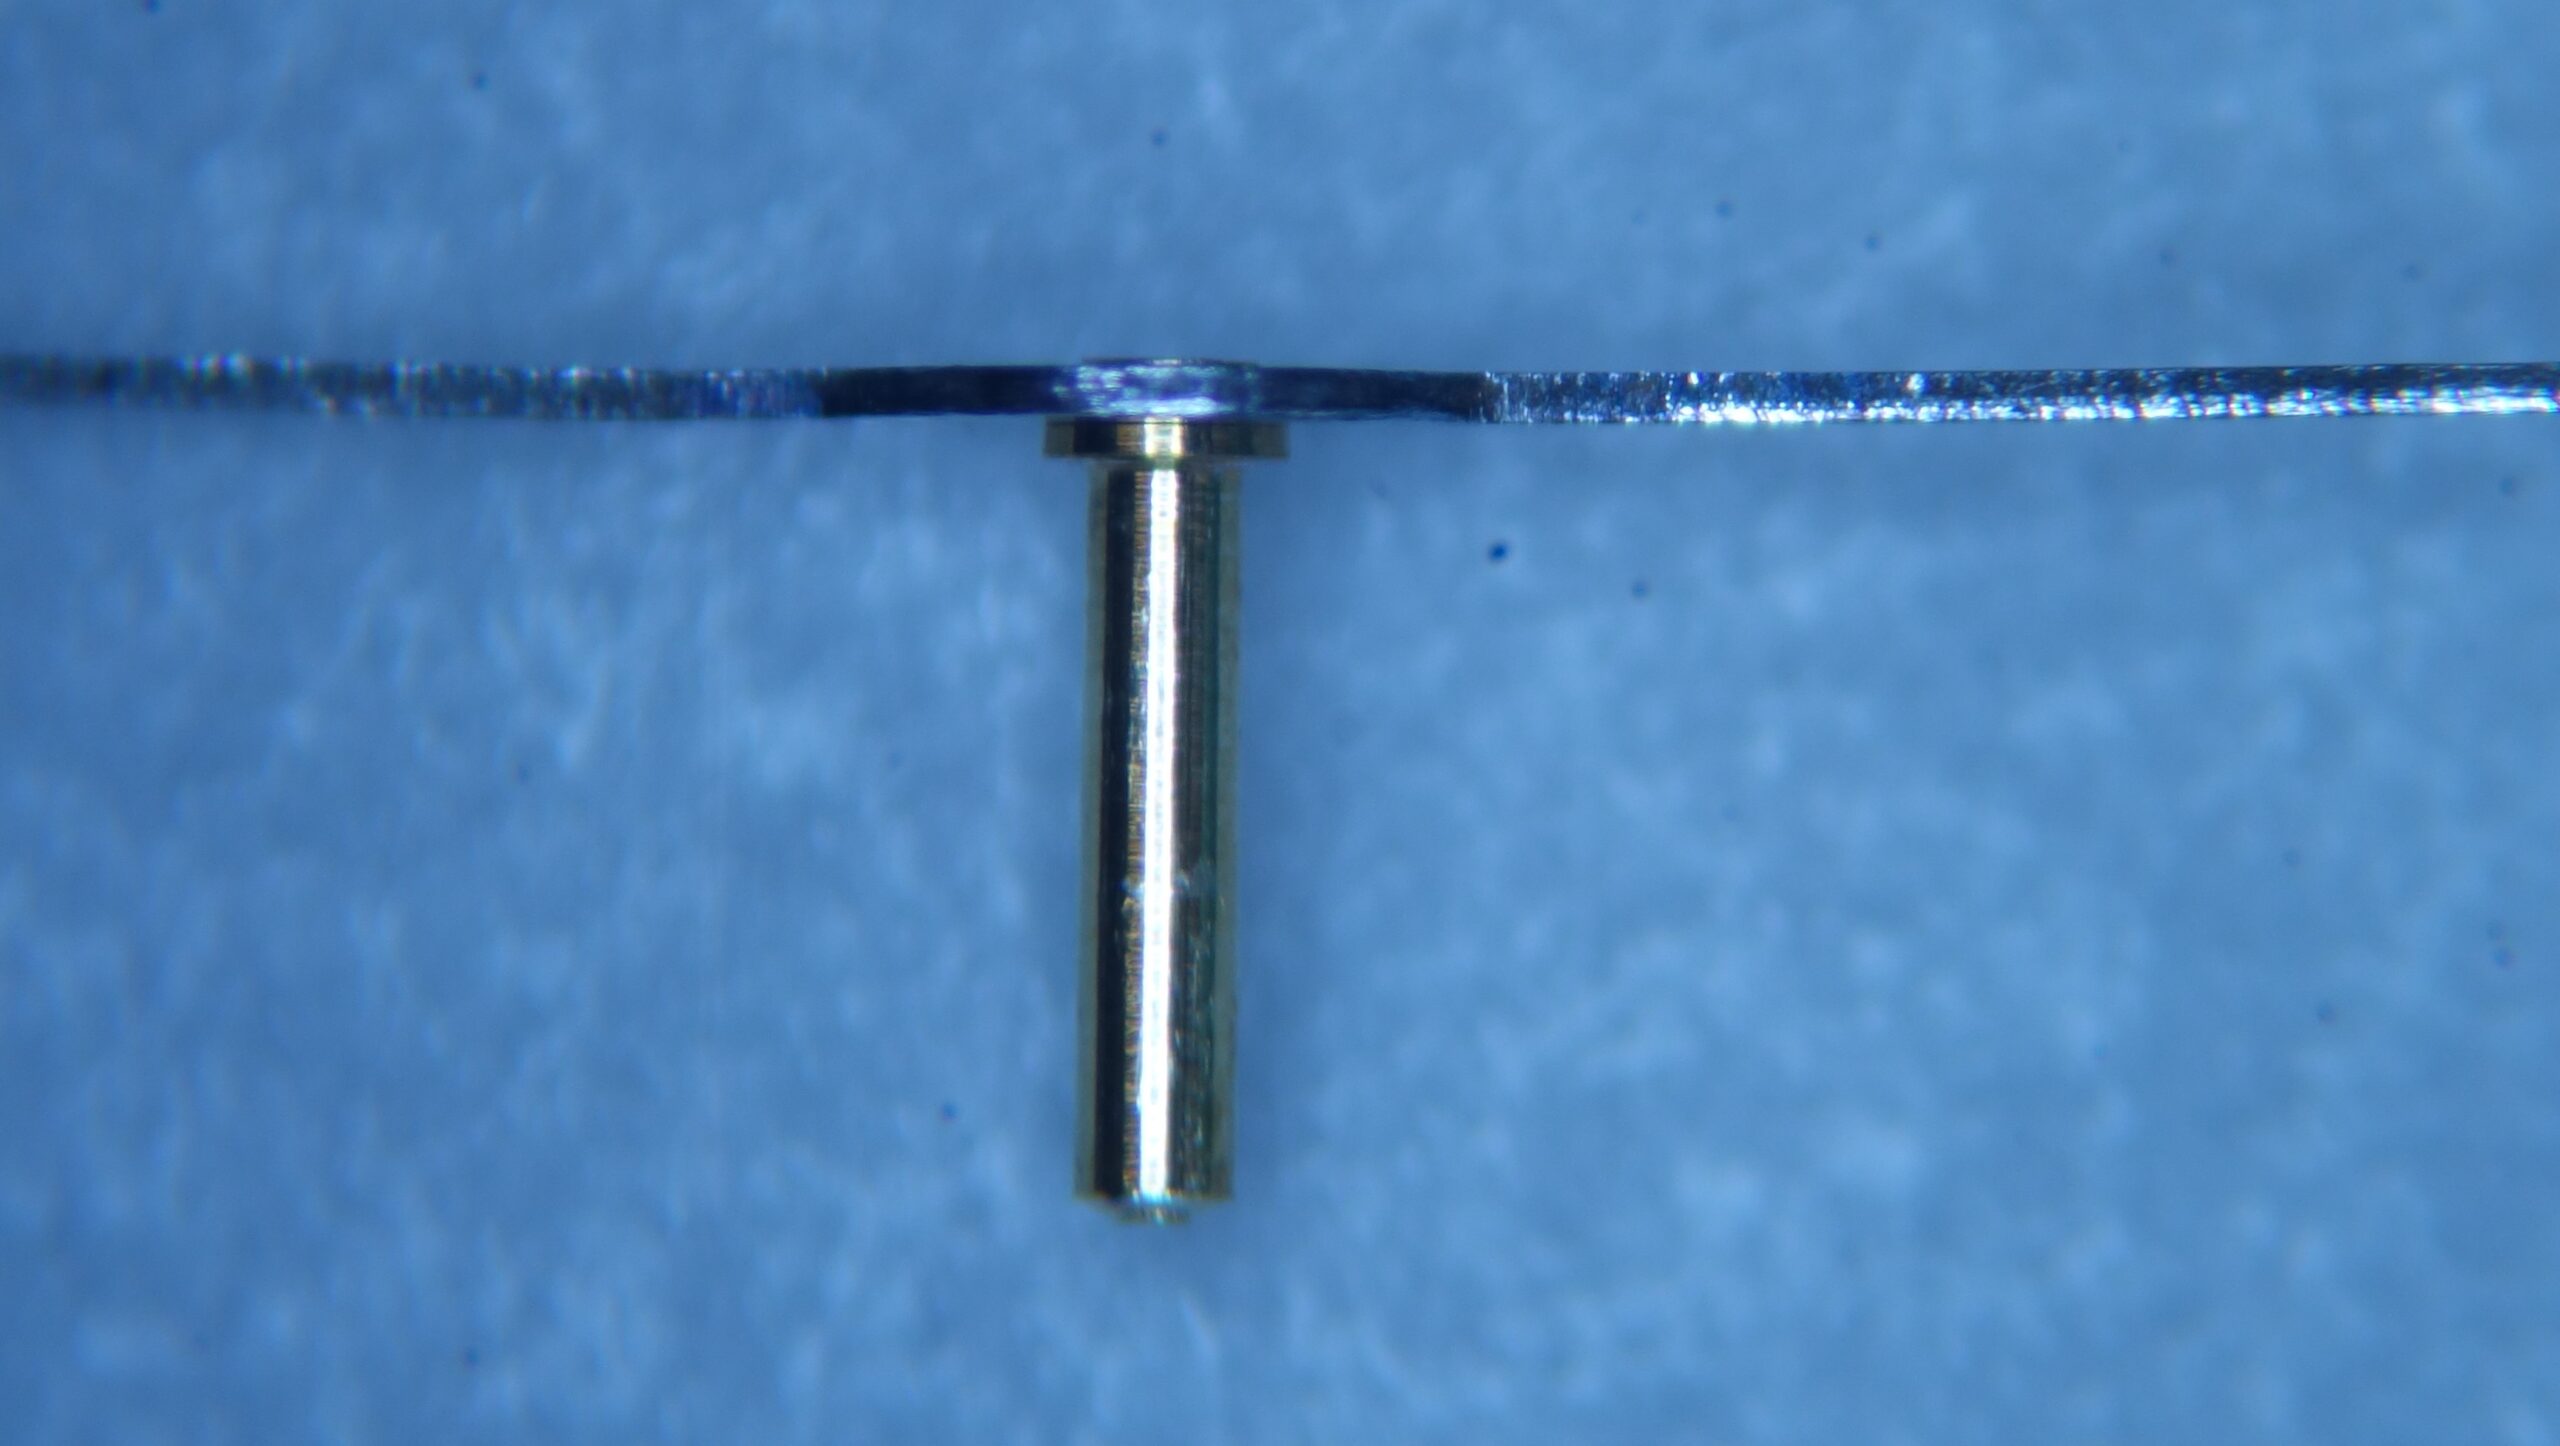
The hand is fitted and riveted from above.
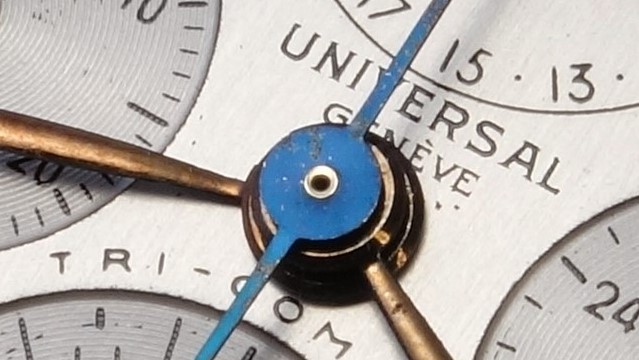
The work is thus completed.